

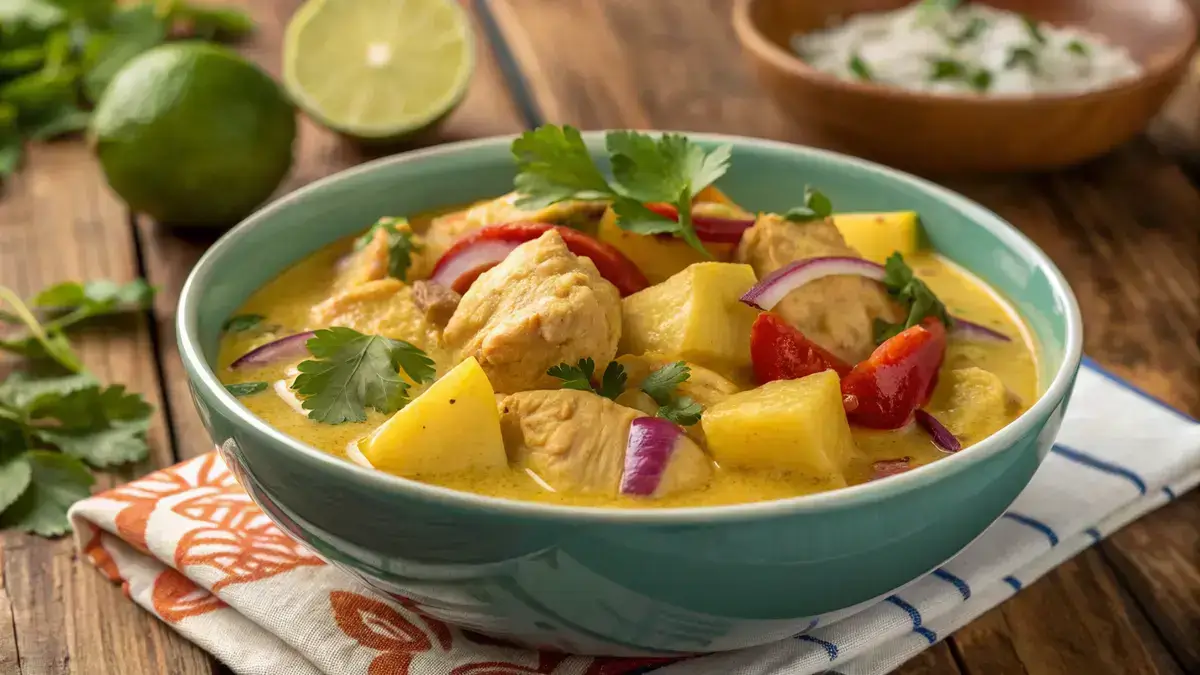
Recipe card
Print / PDFThai Yellow Curry
Rate this recipe
Be the first to rate
- Prep Time
- 10 mins
- Cook Time
- 25 mins
- Total Time
- 35 mins
Ingredients
- 2 tbsp yellow curry paste (adds authentic flavor)
- 1 can (400 ml) coconut milk (for creaminess)
- 500 g chicken thighs (sliced, tender protein)
- 2 pieces potatoes (peeled and cubed, adds heartiness)
- 1 piece onion (sliced, for sweetness)
- 2 cloves garlic (minced, aromatic)
- 1 inch ginger (grated, for warmth)
- 1 tbsp fish sauce (enhances umami)
- 1 tsp sugar (balances flavors)
- 1 tbsp vegetable oil (for cooking)
- to taste fresh cilantro leaves (for garnish)
- to taste lime wedges (for serving)
Equipment
- 1 Pan — For cooking the curry
Method
- 1
Step 1: Heat the oil in a pan over medium heat.
- 2
Step 2: Add garlic, ginger, and yellow curry paste. Stir for 1–2 minutes until fragrant.
- 3
Step 3: Pour in half the coconut milk, stir, and bring to a simmer.
- 4
Step 4: Add chicken pieces and cook for 5 minutes.
- 5
Step 5: Add potatoes and onion. Pour in the remaining coconut milk.
- 6
Step 6: Cover and simmer for 10–12 minutes until vegetables are tender and chicken is cooked through.
- 7
Step 7: Season with fish sauce and sugar, stirring to combine.
- 8
Step 8: Serve garnished with cilantro leaves and lime wedges.
Notes
| Nutrient | Amount per Serving |
|---|---|
| Calories | 400 |
| Fat | 25g |
| Protein | 30g |
| Carbs | 20g |
Why You’ll Love This thai yellow curry
- It’s a creamy delight that warms your soul.
- Packed with vibrant flavors that dance on your palate.
- Quick and easy to whip up for any weeknight dinner.
- Customizable with your favorite veggies and proteins.
- Perfect for meal prep and leftovers taste even better!
Ingredients
Here’s what you’ll need to create this delicious Thai yellow curry at home!
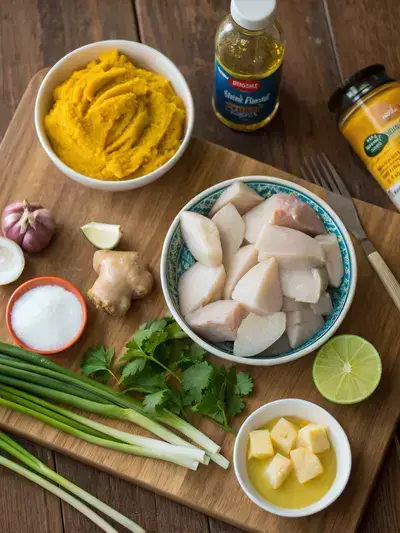
- 2 tbsp yellow curry paste – adds authentic flavor
- 1 can (400 ml) coconut milk – for creaminess
- 500 g chicken thighs – sliced, tender protein
- 2 potatoes – peeled and cubed, adds heartiness
- 1 onion – sliced, for sweetness
- 2 cloves garlic – minced, aromatic
- 1-inch piece ginger – grated, for warmth
- 1 tbsp fish sauce – enhances umami
- 1 tsp sugar – balances flavors
- 1 tbsp vegetable oil – for cooking
- fresh cilantro leaves – for garnish
- lime wedges – for serving
How to Make Thai Yellow Curry
This delightful Thai yellow curry is a creamy, flavorful dish that’s easy to whip up. With a preparation time of about 10 minutes and a cooking time of 25 minutes, you’ll have a delicious meal ready in no time!

Step 1: Heat the Oil
Heat oil in a pan over medium heat.
Step 2: Sauté Aromatics
Add garlic, ginger, and yellow curry paste. Stir for 1–2 minutes until fragrant.
Step 3: Add Coconut Milk
Pour in half the coconut milk, stir, and bring to a simmer.
Step 4: Cook Chicken
Add chicken pieces and cook for 5 minutes.
Step 5: Add Vegetables
Add potatoes and onion. Pour in the remaining coconut milk.
Step 6: Simmer
Cover and simmer for 10–12 minutes until vegetables are tender and chicken is cooked through.
Step 7: Season
Season with fish sauce and sugar, stirring to combine.
Step 8: Serve
Serve garnished with cilantro leaves and lime wedges.
Recipe Snapshot
| Feature | Details |
|---|---|
| Category | Main Course |
| Cuisine | Thai |
| Prep Time | 10 minutes |
| Cook Time | 25 minutes |
| Extra Time | 0 minutes |
| Total Time | 35 minutes |
| Dietary | Contains chicken |
| Serves | 4 |
| Best Served | With fresh cilantro and lime wedges |
Pro Tips for Making thai yellow curry
- Use fresh ingredients for vibrant flavors.
- Adjust the spice level by adding more or less curry paste.
- Let the curry simmer longer for deeper flavor.
- Serve with jasmine rice for the perfect pairing.
- Add a splash of coconut milk at the end for extra creaminess.
How to Serve this thai yellow curry
- Serve over fluffy jasmine rice for a classic pairing.
- Pair with warm naan or roti for a delightful twist.
- Add a side of fresh cucumber salad for a refreshing crunch.
- Top with fresh cilantro and lime wedges for an extra zing.
- Enjoy with crispy spring rolls for a fun appetizer combo.
- Serve alongside a light coconut soup for a complete meal experience.
Make Ahead and Storage
Storing and enjoying your Thai yellow curry later is easy and convenient:
Storing Leftovers
- Allow the curry to cool to room temperature.
- Transfer to an airtight container.
- Store in the refrigerator for up to 3 days.
- Label the container with the date for easy tracking.
Freezing
- Cool the curry completely before freezing.
- Use freezer-safe containers or heavy-duty freezer bags.
- Leave some space for expansion when sealing.
- Freeze for up to 3 months for best quality.
Reheating
- Thaw frozen curry in the refrigerator overnight.
- Reheat on the stovetop over medium heat, stirring occasionally.
- Add a splash of coconut milk for creaminess if needed.
- Ensure it’s heated through before serving.
Explore more easy breakfast recipes, quick lunch ideas, cozy dinner meals, tasty snacks, and delightful dessert.
Final Thoughts
Now that you have the recipe for this delightful Thai yellow curry, it’s time to gather your ingredients and get cooking! Remember, it’s all about the joy of creating something delicious. Enjoy the creamy, flavorful goodness, and don’t forget to share it with loved ones. Happy cooking!
Quick answers
Frequently asked questions
Straight answers from the kitchen — storage, swaps, and common sticking points for this recipe.
What goes in a Thai yellow curry?
Is Thai yellow curry very hot?
What is the difference between red and yellow Thai curry?
Is yellow curry hotter than green?
Kitchen notes
Nutrition & sources
Calorie and nutrition figures on this page are estimates meant for general home-cooking guidance. Actual values vary with brands, portion size, and how the recipe is prepared.
Estimates draw on typical ingredient data from public nutrition databases such as the USDA FoodData Central. They are not a substitute for professional medical or dietary advice.
For how recipes are tested and when pages are updated, see How we test recipes. Full legal context lives in our disclaimers and affiliate disclosure.


Comments
Made this recipe? Share how it turned out for your family.
No comments yet — be the first to leave a note.