

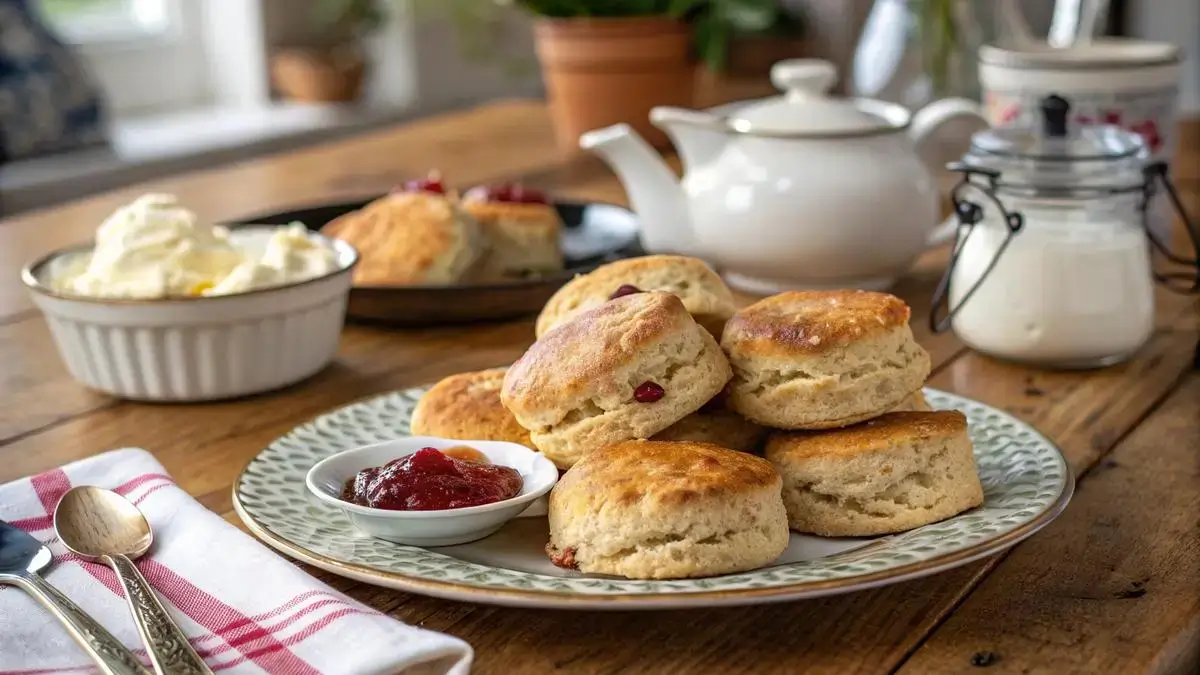
Recipe card
Print / PDFsticky fingers scone mix
Rate this recipe
Be the first to rate
- Prep Time
- 15 mins
- Cook Time
- 15 mins
- Total Time
- 30 mins
Ingredients
- 2 cups self-rising flour (for the base of your scones)
- 1/4 cup granulated sugar (to add sweetness)
- 1 tablespoon baking powder (helps them rise)
- 1/2 teaspoon salt (enhances flavor)
- 6 tablespoons cold unsalted butter (cubed for flakiness)
- 3/4 cup milk (binds it all together)
- 1 teaspoon vanilla extract (for a hint of flavor)
- 2 tablespoons brown sugar (for topping)
- 1 tablespoon melted butter (for brushing)
- 1/4 cup powdered sugar (for optional glaze)
Equipment
- 1 Baking sheet — For baking the scones
- 1 Parchment paper — To line the baking sheet
- 1 large bowl — For mixing ingredients
- 1 Pastry cutter — For cutting in the butter
- 1 wire rack — For cooling the scones
Method
- 1
Preheat your oven to 425°F (220°C) and line a baking sheet with parchment paper.
- 2
In a large bowl, whisk together flour, granulated sugar, baking powder, and salt until well combined.
- 3
Cut in cold butter using a pastry cutter or your fingers until the mixture resembles coarse crumbs.
- 4
Stir in milk and vanilla until just combined. Be careful not to overmix; a little lumpiness is okay!
- 5
Turn the dough onto a lightly floured surface. Pat it into a 1-inch thick circle and cut into 8 wedges.
- 6
Place the wedges on the prepared baking sheet. Brush the tops with melted butter and sprinkle with brown sugar for a sweet finish.
- 7
Bake in the preheated oven for 12–15 minutes, or until they are golden brown and your kitchen smells heavenly.
- 8
Let the scones cool slightly on a wire rack. If desired, drizzle with a powdered sugar glaze for an extra touch of sweetness.
Notes
| Nutrient | Amount per Serving |
|---|---|
| Calories | 200 |
| Fat | 8g |
| Protein | 3g |
| Carbs | 30g |
| Sugar | 10g |
Why You’ll Love This sticky fingers scone mix
- Quick and easy preparation for busy mornings.
- Deliciously fluffy texture that melts in your mouth.
- Versatile mix—add your favorite fruits or nuts!
- Perfect for brunch gatherings or cozy afternoons.
- Made with quality ingredients for a guilt-free treat.
Ingredients
Gather these ingredients to whip up some delightful sticky fingers scones!
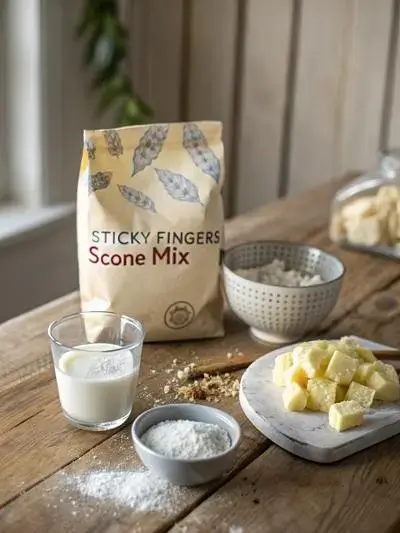
- 2 cups self-rising flour – for the base of your scones
- 1/4 cup granulated sugar – to add sweetness
- 1 tablespoon baking powder – helps them rise
- 1/2 teaspoon salt – enhances flavor
- 6 tablespoons cold unsalted butter – cubed for flakiness
- 3/4 cup milk – binds it all together
- 1 teaspoon vanilla extract – for a hint of flavor
- 2 tablespoons brown sugar – for topping
- 1 tablespoon melted butter – for brushing
- 1/4 cup powdered sugar – for optional glaze
How to Make sticky fingers scone mix
Get ready for a delightful baking adventure! With a preparation time of about 15 minutes and a cooking time of 12–15 minutes, these scones will bring joy to your kitchen. Allow a few extra minutes for cooling before indulging in their warm, sweet goodness.

Step 1: Preheat the Oven
Preheat your oven to 425°F (220°C) and line a baking sheet with parchment paper.
Step 2: Mix Dry Ingredients
In a large bowl, whisk together flour, granulated sugar, baking powder, and salt until well combined.
Step 3: Cut in Butter
Cut in cold butter using a pastry cutter or your fingers until the mixture resembles coarse crumbs.
Step 4: Add Wet Ingredients
Stir in milk and vanilla until just combined. Be careful not to overmix; a little lumpiness is okay!
Step 5: Shape the Dough
Turn the dough onto a lightly floured surface. Pat it into a 1-inch thick circle and cut into 8 wedges.
Step 6: Prepare for Baking
Place the wedges on the prepared baking sheet. Brush the tops with melted butter and sprinkle with brown sugar for a sweet finish.
Step 7: Bake the Scones
Bake in the preheated oven for 12–15 minutes, or until they are golden brown and your kitchen smells heavenly.
Step 8: Cool and Drizzle
Let the scones cool slightly on a wire rack. If desired, drizzle with a powdered sugar glaze for an extra touch of sweetness.
Recipe Snapshot
| Feature | Details |
|---|---|
| Category | Dessert |
| Cuisine | American |
| Prep Time | 15 minutes |
| Cook Time | 15 minutes |
| Extra Time | 0 minutes |
| Total Time | 30 minutes |
| Dietary | Vegetarian |
| Serves | 8 |
| Best Served | Warm with a drizzle of glaze! |
Pro Tips for Making sticky fingers scone mix
- Preheat your oven for perfectly baked scones.
- Use cold butter for a flaky texture.
- Don’t overmix; gentle folding keeps them light.
- Add your favorite mix-ins for a personal touch.
- Brush with cream before baking for a golden finish.
How to Serve this sticky fingers scone mix
- Enjoy warm with a pat of butter and a drizzle of honey.
- Pair with fresh fruit like strawberries or blueberries for a refreshing touch.
- Serve alongside a cup of herbal tea for a cozy afternoon treat.
- Top with whipped cream and a sprinkle of cinnamon for a delightful dessert.
- Use as a base for a delicious breakfast sandwich with eggs and cheese.
- Mix in chocolate chips or dried fruits for an extra flavor boost.
Make Ahead and Storage
You can easily prepare and store your sticky fingers scone mix for later enjoyment:
Storing Leftovers
- Allow scones to cool completely.
- Place in an airtight container.
- Store at room temperature for up to 2 days.
- For longer storage, refrigerate for up to a week.
Freezing
- Wrap cooled scones individually in plastic wrap.
- Place wrapped scones in a freezer-safe bag.
- Label with the date and freeze for up to 3 months.
- For best quality, avoid refreezing once thawed.
Reheating
- Preheat your oven to 350°F (175°C).
- Place scones on a baking sheet.
- Heat for about 10-15 minutes until warm.
- For microwave, heat for 15-20 seconds, but may lose crispness.
Explore more easy breakfast recipes, quick lunch ideas, cozy dinner meals, tasty snacks, and delightful dessert.
FAQs
Here’s a helpful FAQ about this recipe:
Final Thoughts
Get ready to indulge in the delightful world of Sticky Fingers Scone Mix! With just a few simple steps, you can create warm, fluffy scones that will fill your kitchen with irresistible aromas. So gather your loved ones, enjoy the process, and savor every bite. Trust me, this is a treat that brings joy to every occasion!


Comments
Made this recipe? Share how it turned out for your family.
No comments yet — be the first to leave a note.