
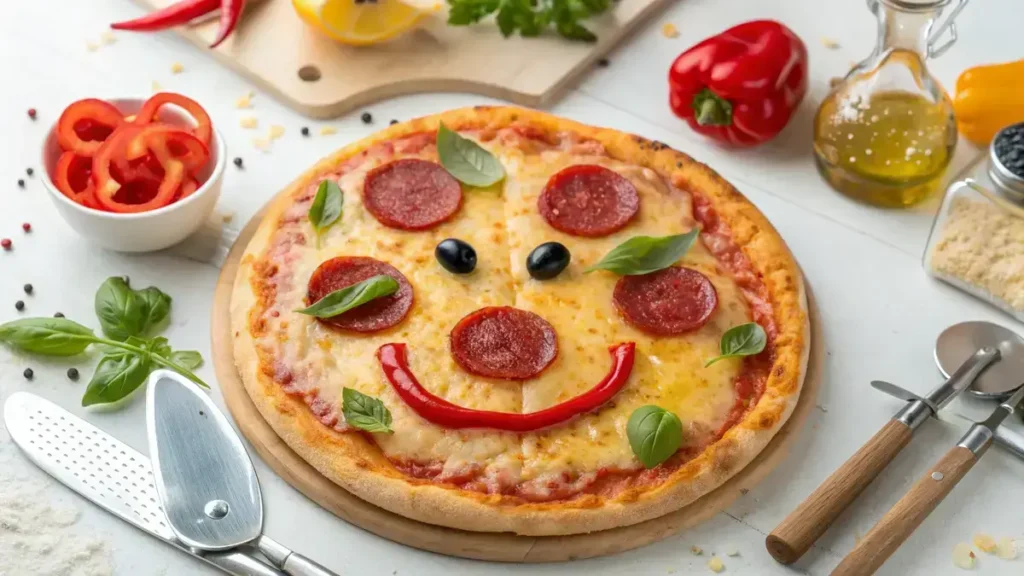
Pizza faces turn dinner into a playful little party, bringing back those sunny afternoons filled with laughter and creativity. Fluffy dough rounds get a quick swipe of tomato sauce and a shower of melty mozzarella, then the fun begins as veggies become smiling eyes, winking olives, and bell pepper grins. A sprinkle of basil adds fresh flavor, and a drizzle of olive oil helps everything bake up golden and inviting. With easy swaps like dairy free cheese or plant based pepperoni, pizza faces let everyone join in. Ready in under 30 minutes, these mini pizzas are perfect for birthdays, rainy days, or anytime you want a bite of pure happiness.
Table of Contents
Why You’ll Love This pizza faces
- Perfect for little hands to create their own edible art.
- Encourages creativity with fun toppings and designs.
- Quick and easy to make, ideal for busy weeknights.
- Healthy options available with fresh veggies and whole wheat crust.
- A delightful way to get kids involved in cooking!
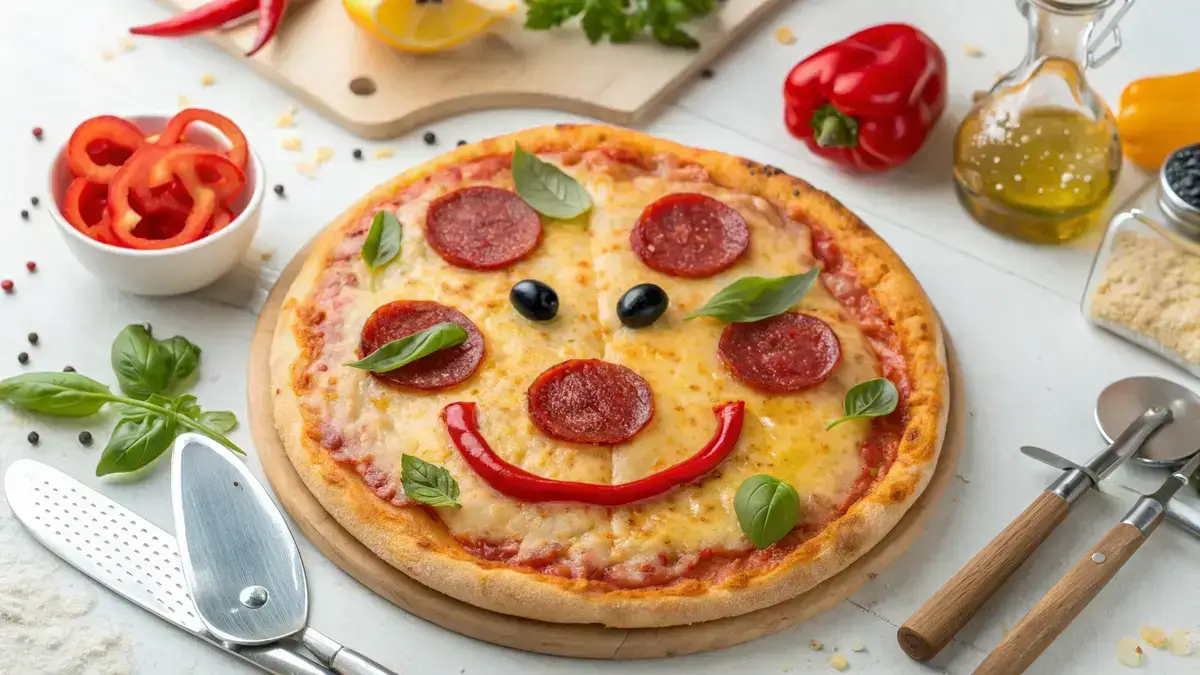
pizza faces
Ingredients
Equipment
Method
- Preheat your oven to 220°C (425°F). This will ensure your pizza faces bake perfectly.
- On a floured surface, roll out the pizza dough into a round shape. Make it about ¼ inch thick for a nice crust.
- Spread tomato sauce evenly over the dough, leaving a small border around the edges for the crust.
- Sprinkle shredded mozzarella cheese generously over the sauce. This will make your pizza faces cheesy and delicious!
- Arrange pepperoni slices as eyes and place olive slices in the center as pupils. Get creative!
- Use red bell pepper strips to form a smiling mouth. This will add a pop of color and fun!
- Add basil leaves around the top edge to resemble hair. It’s a great way to add freshness!
- Carefully place your pizza faces in the oven and bake for 12–15 minutes until the crust is golden and the cheese is bubbly.
- Let your pizza faces cool slightly, then serve them warm. Enjoy the smiles they bring!
Notes
| Nutrition Facts | Per Serving |
|---|---|
| Calories | 250 |
| Fat | 10g |
| Protein | 12g |
| Carbs | 30g |
Ingredients
Gather these fun ingredients to make your delightful pizza faces!
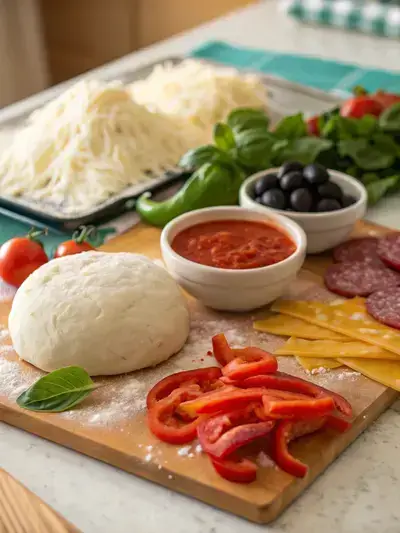
- 1 ball pizza dough – for the base of your pizza faces
- 1/2 cup tomato sauce – the perfect spread for flavor
- 1 cup shredded mozzarella cheese – for that cheesy goodness
- Pepperoni slices – for creating adorable eyes
- Black olives – to make cute pupils
- Red bell pepper strips – to form a fun mouth
- Fresh basil leaves – to add some hair flair!
How to Make Pizza Faces
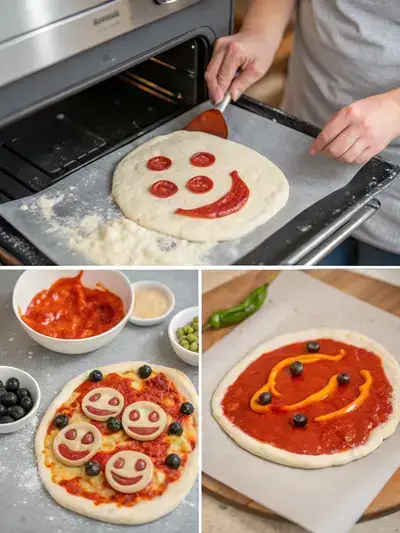
Get ready for a fun cooking adventure! This pizza faces recipe takes about 15 minutes to prepare and 12–15 minutes to cook. Let’s create some delicious mini pizzas that are sure to bring smiles!
Step 1: Preheat the Oven
Preheat your oven to 220°C (425°F). This will ensure your pizza faces bake perfectly.
Step 2: Roll Out the Dough
On a floured surface, roll out the pizza dough into a round shape. Make it about ¼ inch thick for a nice crust.
Step 3: Spread the Sauce
Spread tomato sauce evenly over the dough, leaving a small border around the edges for the crust.
Step 4: Add Cheese
Sprinkle shredded mozzarella cheese generously over the sauce. This will make your pizza faces cheesy and delicious!
Step 5: Create the Face
Arrange pepperoni slices as eyes and place olive slices in the center as pupils. Get creative!
Step 6: Make a Smile
Use red bell pepper strips to form a smiling mouth. This will add a pop of color and fun!
Step 7: Add Hair
Add basil leaves around the top edge to resemble hair. It’s a great way to add freshness!
Step 8: Bake the Pizza Faces
Carefully place your pizza faces in the oven and bake for 12–15 minutes until the crust is golden and the cheese is bubbly.
Step 9: Serve and Enjoy
Let your pizza faces cool slightly, then serve them warm. Enjoy the smiles they bring!
Recipe Snapshot
| Feature | Details |
|---|---|
| Category | Main Course / Snacks |
| Cuisine | Italian |
| Prep Time | 15 minutes |
| Cook Time | 15 minutes |
| Extra Time | 0 minutes |
| Total Time | 30 minutes |
| Dietary | Vegetarian |
| Serves | 4 |
| Best Served | Warm and fun! |
Pro Tips for Making Pizza Faces
- Use a variety of colorful veggies for fun and creativity.
- Pre-bake the crust slightly for a crispier base.
- Let kids design their own faces for a personal touch.
- Experiment with different cheeses for unique flavors.
- Serve with a side of marinara for dipping fun!
How to Serve this pizza faces
- Serve with a side of colorful veggie sticks for a crunchy contrast.
- Pair with a light marinara or ranch dip for extra flavor.
- Offer a variety of toppings so kids can customize their own faces.
- Include a fresh fruit salad for a sweet and healthy side.
Make Ahead and Storage
Here’s how to keep your pizza faces fresh and delicious:
Storing Leftovers
- Allow pizza faces to cool completely.
- Place them in an airtight container.
- Store in the refrigerator for up to 3 days.
Freezing
- Cool pizza faces completely before freezing.
- Wrap each pizza in plastic wrap or foil.
- Place wrapped pizzas in a freezer-safe bag.
- Freeze for up to 2 months for best quality.
Reheating
- Preheat your oven to 375°F (190°C).
- Place pizza faces on a baking sheet.
- Heat for about 10-15 minutes until warm.
- For a crispier crust, use a toaster oven.
Explore more easy breakfast recipes, quick lunch ideas, cozy dinner meals, tasty snacks, and delightful dessert.
FAQs
Here’s a helpful FAQ about this recipe:
1. What does it mean to have a pizza face?
Having a ‘pizza face’ is a colloquial term often used to describe someone with acne or blemishes on their face, resembling the toppings on a pizza. It’s important to remember that skin issues are common and can be addressed with proper skincare and, if needed, consultation with a dermatologist.
2. How to make pizza faces?
Making pizza faces is a fun and creative activity! Start with mini pizza bases or English muffins, then use tomato sauce as the base. Let your kids add toppings like cheese, olives, bell peppers, and pepperoni to create funny faces. Bake them in the oven until the cheese is melted and bubbly, and enjoy your delicious creations together!
3. How to get rid of pizza face?
To address skin issues often referred to as ‘pizza face’, it’s essential to maintain a good skincare routine. This includes cleansing your face regularly, using non-comedogenic products, and possibly incorporating treatments like salicylic acid or benzoyl peroxide. If the problem persists, consulting a dermatologist can provide personalized advice and treatment options.
4. What is the 3/8 rule for pizza?
The 3/8 rule for pizza refers to the ideal proportions of ingredients for a well-balanced pizza. It suggests that the crust should make up 3 parts of the pizza, while the sauce and toppings should collectively make up 8 parts. This ensures a delicious and satisfying pizza experience without overwhelming the crust or the flavors!
Final Thoughts
Making pizza faces is not just a meal; it’s a delightful experience! Gather your loved ones, unleash your creativity, and enjoy these fun mini pizzas together. With simple ingredients and endless possibilities, you’ll find joy in every bite. So roll up your sleeves, get cooking, and let the smiles and laughter fill your kitchen!