

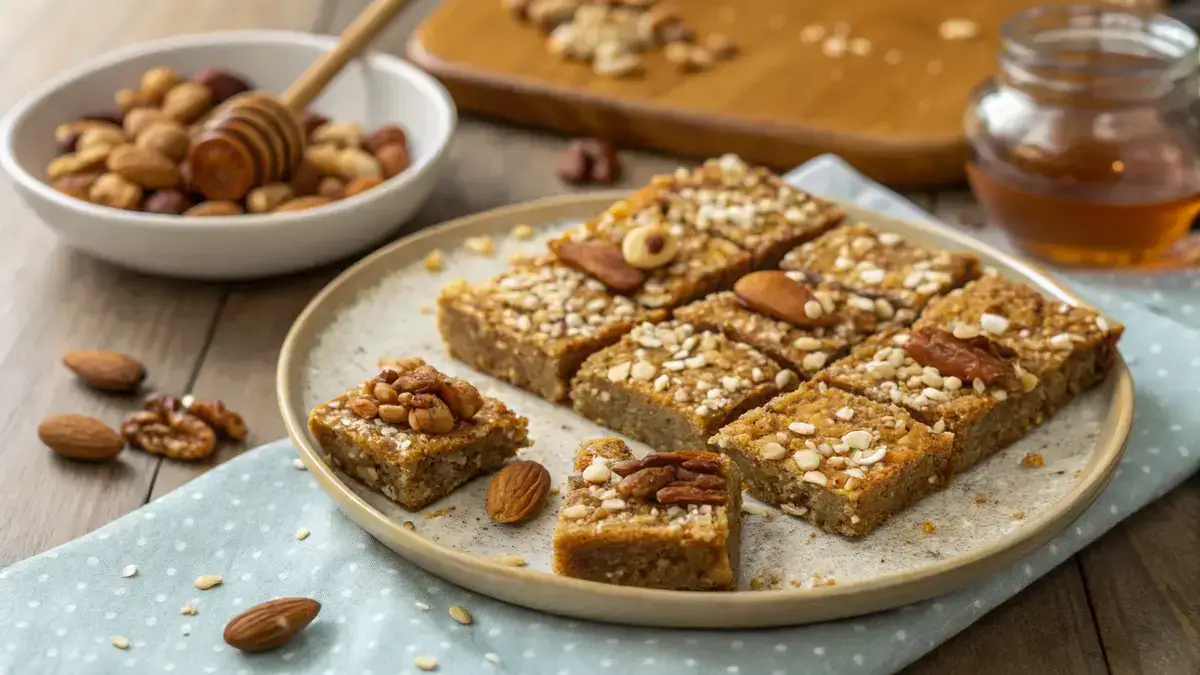
Recipe card
Print / PDFNo-Bake Nut Bars Recipe
Rate this recipe
Be the first to rate
- Prep Time
- 10 mins
- Cook Time
- 20 mins
- Total Time
- 30 mins
Ingredients
- 1 cup rolled oats (Use old-fashioned oats for best texture)
- 2 cups mixed nuts (Almonds, cashews, peanuts or your choice)
- 1/2 cup honey (Natural sweetener)
- 1/4 cup butter (Unsalted butter preferred)
- 1/2 cup brown sugar (Packed)
- 1 teaspoon vanilla extract (For flavor)
- 1/4 teaspoon salt (To balance sweetness)
Equipment
- 1 Baking pan — Line with parchment paper
- 1 Mixing bowl — For melting and mixing ingredients
- 1 Saucepan — For melting the butter, honey, and brown sugar
Method
- 1
Preheat your oven to 350°F (175°C). This will ensure your nut bars bake evenly and come out perfectly golden.
- 2
In a bowl, melt together butter, honey, and brown sugar over low heat. Stir in vanilla extract and a pinch of salt until everything is well combined.
- 3
In a separate bowl, mix rolled oats and your choice of chopped nuts. Feel free to get creative with your nut selection!
- 4
Pour the warm syrup mixture over the oats and nuts. Stir until everything is fully coated and looks deliciously sticky.
- 5
Line a baking pan with parchment paper. Press the mixture firmly into the pan, making sure it’s evenly spread out.
- 6
Place the pan in the oven and bake for 15-20 minutes. Keep an eye on them until they turn a lovely golden brown.
- 7
Once baked, let the nut bars cool completely in the pan. Once cool, cut them into bars and enjoy your homemade energy boost!
Notes
| Nutrient | Amount per Serving |
|---|---|
| Nutrition Facts | Per Serving |
| Calories | 200 |
| Fat | 10g |
| Protein | 5g |
| Carbs | 25g |
Why You’ll Love This nut bar
- Quick and easy to make, no baking required!
- Packed with wholesome nuts for a protein boost.
- Customizable with your favorite add-ins like dried fruits or seeds.
- Perfect for on-the-go snacking or a post-workout treat.
- Healthy and satisfying, keeping cravings at bay.
Ingredients
Gather these simple ingredients to make your delicious nut bars!
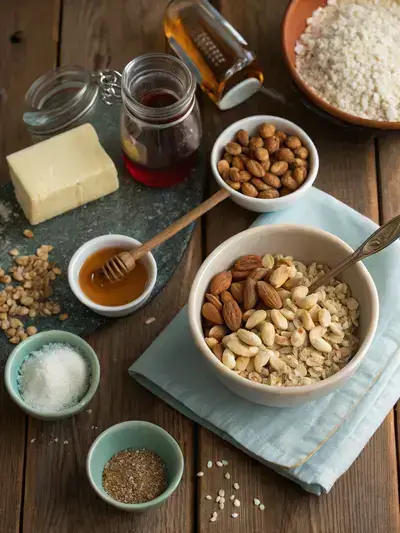
- 1 cup – rolled oats
- 2 cups – mixed nuts (almonds, cashews, peanuts)
- 1/2 cup – honey
- 1/4 cup – butter
- 1/2 cup – brown sugar
- 1 teaspoon – vanilla extract
- 1/4 teaspoon – salt
How to Make Nut Bars
Get ready to whip up some delicious nut bars! This recipe takes about 10 minutes to prepare, 15-20 minutes to bake, and then you’ll want to let them cool completely before cutting. So, grab your ingredients and let’s get started!
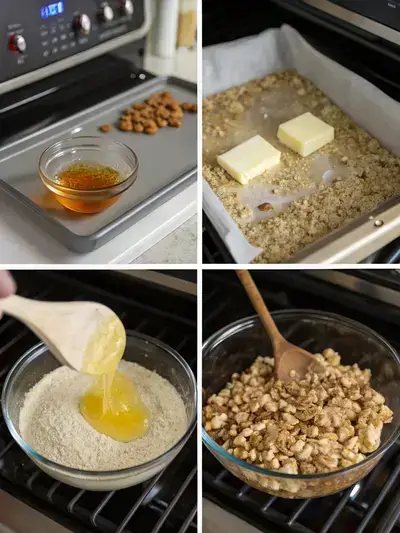
Step 1: Preheat the Oven
Preheat your oven to 350°F (175°C). This will ensure your nut bars bake evenly and come out perfectly golden.
Step 2: Melt the Mixture
In a bowl, melt together butter, honey, and brown sugar over low heat. Stir in vanilla extract and a pinch of salt until everything is well combined.
Step 3: Mix the Dry Ingredients
In a separate bowl, mix rolled oats and your choice of chopped nuts. Feel free to get creative with your nut selection!
Step 4: Combine Everything
Pour the warm syrup mixture over the oats and nuts. Stir until everything is fully coated and looks deliciously sticky.
Step 5: Press into the Pan
Line a baking pan with parchment paper. Press the mixture firmly into the pan, making sure it’s evenly spread out.
Step 6: Bake
Place the pan in the oven and bake for 15-20 minutes. Keep an eye on them until they turn a lovely golden brown.
Step 7: Cool and Cut
Once baked, let the nut bars cool completely in the pan. Once cool, cut them into bars and enjoy your homemade energy boost!
Recipe Snapshot
| Feature | Details |
|---|---|
| Category | Snack |
| Cuisine | American |
| Prep Time | 10 minutes |
| Cook Time | 20 minutes |
| Extra Time | 0 minutes |
| Total Time | 30 minutes |
| Dietary | Vegetarian |
| Serves | 12 |
| Best Served | As a healthy snack! |
Pro Tips for Making nut bar
- Choose a mix of nuts for varied flavor and texture.
- Press the mixture firmly into the pan for a sturdy bar.
- Chill the bars for at least an hour before cutting.
- Add a pinch of salt to enhance the sweetness.
- Experiment with different nut butters for unique tastes.
How to Serve this nut bar
- Enjoy as a quick breakfast on the go.
- Pair with a dollop of Greek yogurt for added creaminess.
- Crush and sprinkle over smoothie bowls for a crunchy topping.
- Serve with fresh fruit for a balanced snack.
- Wrap in parchment paper for a perfect lunchbox treat.
- Dip in dark chocolate for a decadent twist.
- Enjoy with a cup of herbal tea for a cozy afternoon snack.
Make Ahead and Storage
You can prepare and store your nut bars for later enjoyment:
Storing nut bar Leftovers
- Allow nut bars to cool completely before storing.
- Wrap them tightly in plastic wrap or foil.
- Place wrapped bars in an airtight container.
- Store in a cool, dry place for up to one week.
Freezing nut bar
- Wrap each nut bar individually in plastic wrap.
- Place wrapped bars in a freezer-safe bag or container.
- Label with the date for easy reference.
- Freeze for up to three months for best quality.
Reheating nut bar
- Thaw frozen nut bars in the refrigerator overnight.
- For a warm treat, microwave for 10-15 seconds.
- Check for desired warmth and texture before serving.
- Enjoy them fresh for the best taste!
Explore more easy breakfast recipes, quick lunch ideas, cozy dinner meals, tasty snacks, and delightful dessert.
Final Thoughts
There you have it, friends! These easy no-bake nut bars are not just a treat; they’re a delightful way to fuel your day. With just a few simple ingredients, you can whip up a batch that’s perfect for snacking or sharing. So grab your favorite nuts, get mixing, and enjoy the deliciousness of homemade goodness!
Quick answers
Frequently asked questions
Straight answers from the kitchen — storage, swaps, and common sticking points for this recipe.
Are nut bars healthy?
What are nutty bars called now?
What is a nutbar slang?
Who owns Nutbar?
Kitchen notes
Nutrition & sources
Calorie and nutrition figures on this page are estimates meant for general home-cooking guidance. Actual values vary with brands, portion size, and how the recipe is prepared.
Estimates draw on typical ingredient data from public nutrition databases such as the USDA FoodData Central. They are not a substitute for professional medical or dietary advice.
For how recipes are tested and when pages are updated, see How we test recipes. Full legal context lives in our disclaimers and affiliate disclosure.


Comments
Made this recipe? Share how it turned out for your family.
No comments yet — be the first to leave a note.