
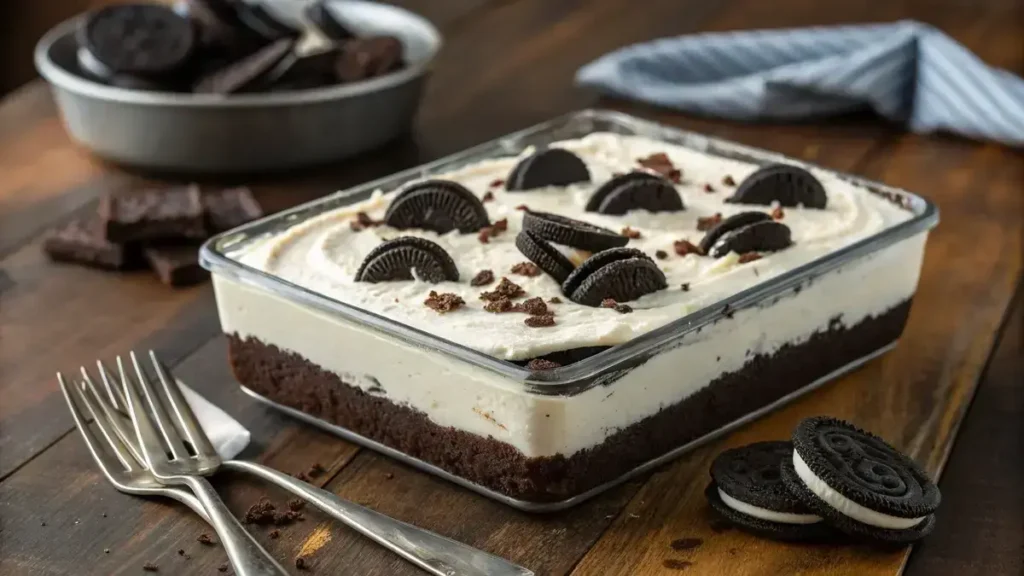
No Bake Oreo Dessert is a creamy, crowd-pleasing treat made with layers of buttery Oreo crumbs, smooth cheesecake filling, and fluffy whipped cream—all without turning on the oven. Rich cream cheese blends with marshmallow fluff, coconut cream, and a hint of vanilla for a light yet indulgent texture, while chilled layers set into perfect slices. Finished with extra Oreo pieces and a drizzle of dairy-free chocolate ganache, No Bake Oreo Dessert is an easy, irresistible favorite for parties, holidays, or anytime you want a stress-free sweet.
Table of Contents
Why You’ll Love This No Bake Oreo Dessert
- It’s super easy to whip up—no baking required!
- Rich and creamy texture that melts in your mouth.
- Perfect for any occasion, from parties to family dinners.
- Uses simple ingredients you probably already have.
- Kids and adults alike will be begging for seconds!
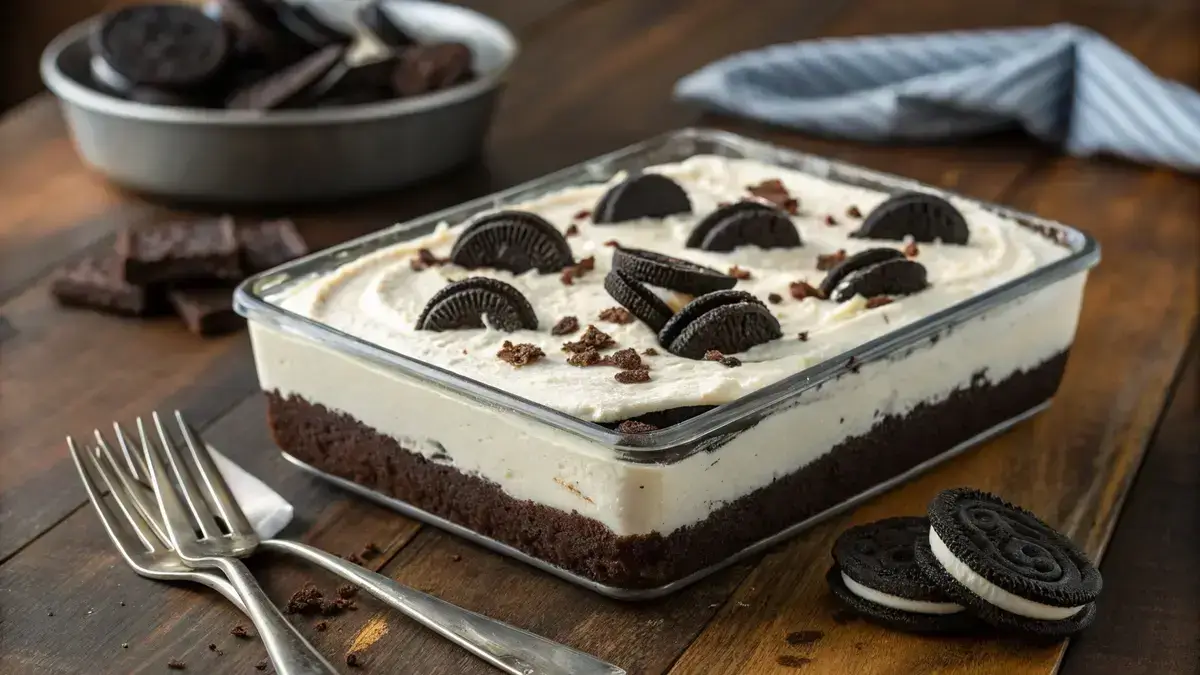
No Bake Oreo Dessert
Ingredients
Equipment
Method
- Step 1: Crush the Oreos. Crush 16 Oreo cookies in a food processor until fine crumbs form. This will be the base of your crust!
- Step 2: Make the Crust. Mix the crumbs with melted butter and press the mixture into the bottom of an 8×8-inch pan to form a solid crust.
- Step 3: Prepare the Cream Cheese Mixture. In a bowl, beat cream cheese and powdered sugar together until smooth and creamy. This will be the heart of your dessert!
- Step 4: Whip the Cream. In a separate bowl, whip heavy cream and vanilla extract until stiff peaks form. This adds a light and fluffy texture!
- Step 5: Combine the Mixtures. Gently fold the whipped cream into the cream cheese mixture. Be careful not to deflate the whipped cream!
- Step 6: Add More Oreos. Chop the remaining 8 Oreos and fold them into the filling. This adds extra crunch and flavor!
- Step 7: Spread the Filling. Spread the creamy filling evenly over the crust. Make sure it’s nice and smooth!
- Step 8: Add Toppings. Top with extra crushed Oreos for that perfect finishing touch. It’s all about the presentation!
- Step 9: Chill the Dessert. Refrigerate for at least 4 hours or until firm. This is the hardest part—waiting!
- Step 10: Serve and Enjoy. Slice and serve chilled. Enjoy your delicious No Bake Oreo Dessert with friends and family!
Notes
| Nutrient | Amount per Serving |
|---|---|
| Calories | 350 |
| Fat | 25g |
| Protein | 4g |
| Carbs | 30g |
| Sugar | 20g |
Ingredients
Here’s what you’ll need to whip up this delightful No Bake Oreo Dessert!

- 24 Oreo cookies – divided for crust and filling
- 1/2 cup unsalted butter – melted
- 8 oz cream cheese – softened for creamy texture
- 1/2 cup powdered sugar – adds sweetness
- 1 cup heavy whipping cream – for fluffy consistency
- 1 tsp vanilla extract – enhances flavor
- Extra crushed Oreos – for topping
How to Make No Bake Oreo Dessert
This delightful No Bake Oreo Dessert is a quick and creamy treat that requires no baking! With a preparation time of just 20 minutes and a chilling time of at least 4 hours, you’ll have a delicious dessert ready to impress your friends and family.
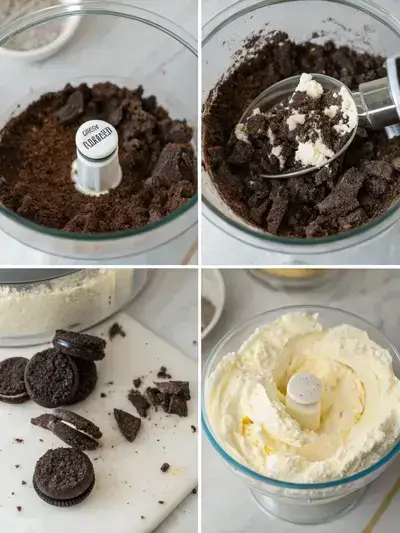
Step 1: Crush the Oreos
Crush 16 Oreo cookies in a food processor until fine crumbs form. This will be the base of your crust!
Step 2: Make the Crust
Mix the crumbs with melted butter and press the mixture into the bottom of an 8×8-inch pan to form a solid crust.
Step 3: Prepare the Cream Cheese Mixture
In a bowl, beat cream cheese and powdered sugar together until smooth and creamy. This will be the heart of your dessert!
Step 4: Whip the Cream
In a separate bowl, whip heavy cream and vanilla extract until stiff peaks form. This adds a light and fluffy texture!
Step 5: Combine the Mixtures
Gently fold the whipped cream into the cream cheese mixture. Be careful not to deflate the whipped cream!
Step 6: Add More Oreos
Chop the remaining 8 Oreos and fold them into the filling. This adds extra crunch and flavor!
Step 7: Spread the Filling
Spread the creamy filling evenly over the crust. Make sure it’s nice and smooth!
Step 8: Add Toppings
Top with extra crushed Oreos for that perfect finishing touch. It’s all about the presentation!
Step 9: Chill the Dessert
Refrigerate for at least 4 hours or until firm. This is the hardest part—waiting!
Step 10: Serve and Enjoy
Slice and serve chilled. Enjoy your delicious No Bake Oreo Dessert with friends and family!
Recipe Snapshot
| Feature | Details |
|---|---|
| Category | Dessert |
| Cuisine | American |
| Prep Time | 20 minutes |
| Cook Time | 0 minutes |
| Extra Time | 240 minutes (Chilling time) |
| Total Time | 260 minutes |
| Dietary | Vegetarian |
| Serves | 8 |
| Best Served | Chilled and creamy |
Pro Tips for Making No Bake Oreo Dessert
- Crush Oreos finely for a smoother texture.
- Chill the cream cheese before mixing for easier blending.
- Layer the dessert in a clear dish for a beautiful presentation.
- Use a spatula to spread the filling evenly.
- Let it set overnight for the best flavor and texture.
How to Serve this No Bake Oreo Dessert
- Top with whipped cream and crushed Oreos for extra crunch.
- Serve in individual cups for a fun, personal touch.
- Pair with fresh berries for a burst of color and flavor.
- Drizzle with chocolate or caramel sauce for added sweetness.
- Enjoy with a scoop of vanilla ice cream on the side.
- Garnish with mint leaves for a refreshing twist.
Make Ahead and Storage
You can prepare and store your No Bake Oreo Dessert with ease:
Storing No Bake Oreo Dessert Leftovers
- Cover the dessert tightly with plastic wrap or aluminum foil.
- Store in the refrigerator for up to 3 days.
- Keep it in an airtight container for best freshness.
Freezing No Bake Oreo Dessert
- Slice the dessert into portions for easy thawing.
- Wrap each piece in plastic wrap, then foil.
- Freeze for up to 2 months for optimal quality.
Reheating No Bake Oreo Dessert
- No need to reheat; serve chilled for best taste.
- If frozen, thaw in the refrigerator overnight.
- Enjoy directly from the fridge for a refreshing treat.
Explore more easy breakfast recipes, quick lunch ideas, cozy dinner meals, tasty snacks, and delightful dessert.
FAQs
Here’s a helpful FAQ about this recipe:
1. What ingredients are needed to make a No Bake Oreo Dessert?
To make a No Bake Oreo Dessert, you will need the following ingredients: Oreo cookies, cream cheese, powdered sugar, whipped topping (or whipped cream), and butter. These simple ingredients come together to create a deliciously creamy dessert that everyone will love!
2. How do you prepare a No Bake Oreo Dessert step by step?
Preparing a No Bake Oreo Dessert is easy! First, crush the Oreo cookies and mix them with melted butter to form the crust. Next, beat the cream cheese and powdered sugar until smooth, then fold in the whipped topping. Layer the cream cheese mixture over the crust, and top with more crushed Oreos. Chill in the refrigerator for a few hours before serving to let it set. Enjoy your delicious creation!
3. Can I customize a No Bake Oreo Dessert with different add-ins or toppings?
Absolutely! One of the best things about a No Bake Oreo Dessert is its versatility. You can add in different flavors of cookies, such as chocolate or peanut butter, or mix in some crushed candy bars for extra crunch. Toppings like chocolate syrup, caramel, or fresh fruit can also elevate your dessert to the next level!
4. How should I store a No Bake Oreo Dessert and how long will it stay fresh?
To store your No Bake Oreo Dessert, cover it tightly with plastic wrap or transfer it to an airtight container. It will stay fresh in the refrigerator for about 3 to 5 days. Just make sure to keep it chilled until you’re ready to serve, and it will be just as delicious as the day you made it!
Final Thoughts
Get ready to indulge in this delightful No Bake Oreo Dessert! It’s a breeze to whip up and perfect for any occasion. Just imagine the creamy layers melting in your mouth, bringing back sweet memories. So gather your ingredients, invite some friends over, and enjoy this simple yet rewarding treat. You deserve it!