
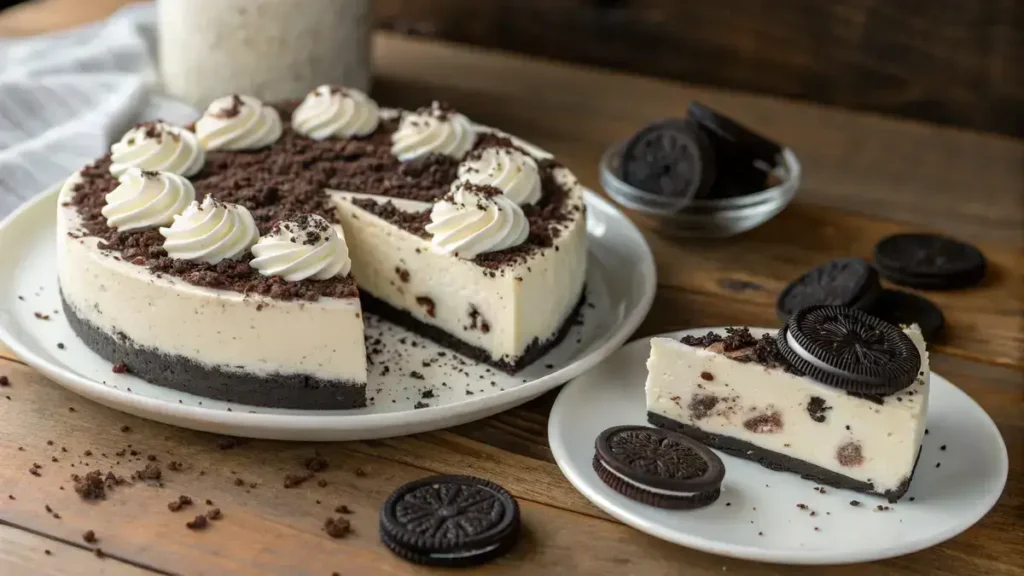
No bake Oreo cheesecake feels like a midnight hug for your taste buds, with silky smooth cream cheese wrapped around crunchy cookie pieces in every bite. A deep Oreo crumb crust presses into the pan, ready to cradle a velvety filling kissed with vanilla and a touch of bright lemon zest. Fold in extra cookie chunks, chill until set, then finish with crumbled Oreos and a playful drizzle of chocolate sauce on top. Simple to prep and full of creamy crunch, this no bake Oreo cheesecake is perfect for parties or quiet evenings whenever you crave easy chocolate comfort.
Table of Contents
Why You’ll Love This No bake Oreo cheesecake
- It’s incredibly easy to make—no baking required!
- Rich and creamy texture that melts in your mouth.
- Perfect for any occasion, from parties to weeknight treats.
- Oreo lovers will be in heaven with every bite!
- Can be made ahead of time for stress-free entertaining.
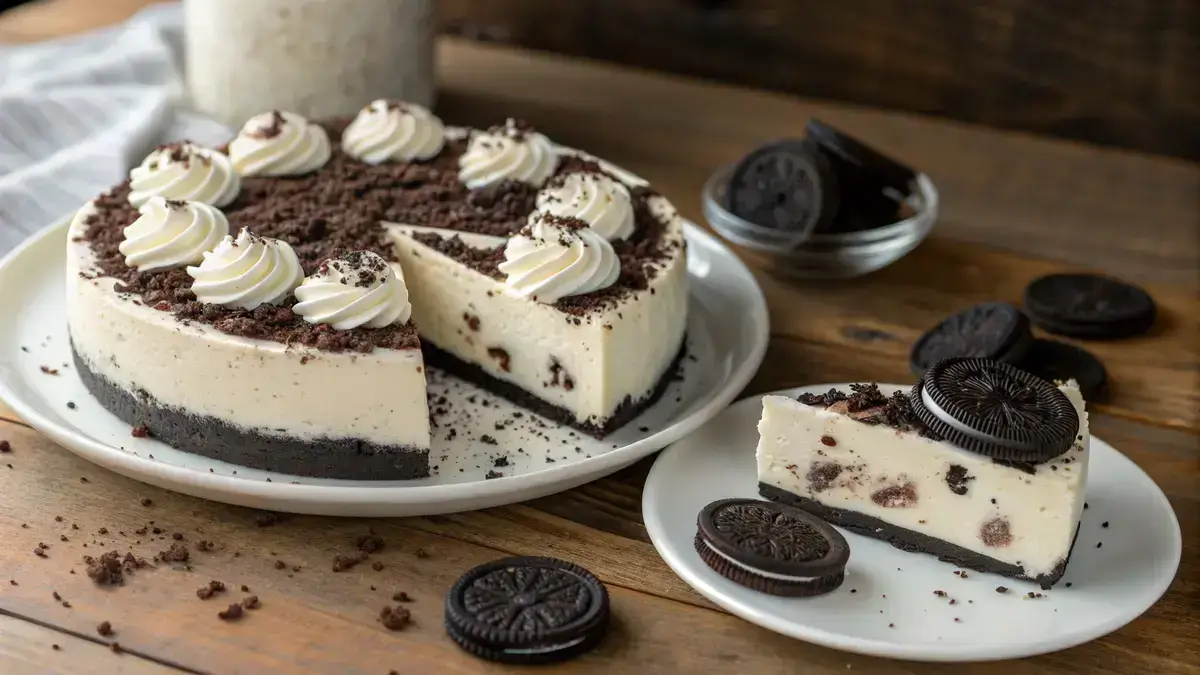
No bake Oreo cheesecake
Ingredients
Equipment
Method
- Step 1: Separate the Cookies – Separate 24 Oreo cookies, reserving 2 tablespoons of crumbs for topping. Crush the remaining cookies into fine crumbs.
- Step 2: Make the Crust – Combine Oreo crumbs with melted butter in a bowl. Press the mixture firmly into the bottom of a 9-inch springform pan to form the crust. Chill in the refrigerator for 15 minutes.
- Step 3: Prepare the Filling – In a large mixing bowl, beat softened cream cheese, granulated sugar, and vanilla extract until smooth and creamy.
- Step 4: Whip the Cream – In a separate bowl, whip heavy cream until stiff peaks form.
- Step 5: Combine Mixtures – Gently fold the whipped cream into the cream cheese mixture until fully combined.
- Step 6: Add Oreo Pieces – Fold in about 1 cup of roughly chopped Oreo pieces into the filling.
- Step 7: Pour the Filling – Pour the filling over the chilled crust, smoothing the top with a spatula.
- Step 8: Add Toppings – Sprinkle the reserved Oreo crumbs on top. Add optional whipped cream or extra cookie pieces if desired.
- Step 9: Chill the Cheesecake – Refrigerate the cheesecake for at least 4–6 hours, or overnight, until fully set.
- Step 10: Serve – Release the sides of the springform pan, slice, and serve chilled.
Notes
| Nutrition Facts | Per Serving |
|---|---|
| Calories | 350 |
| Fat | 25g |
| Protein | 5g |
| Carbs | 30g |
Ingredients
Here’s what you’ll need to make a delicious No Bake Oreo Cheesecake!
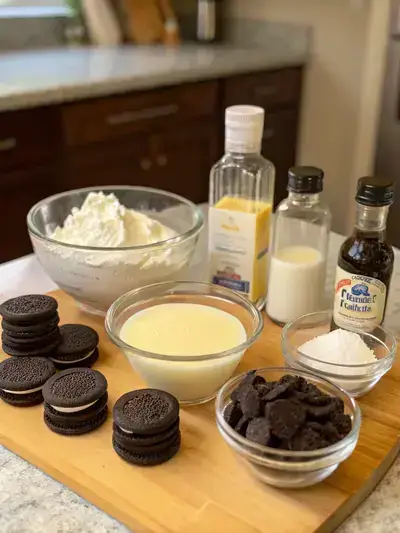
- 24 Oreo cookies – divided for crust and filling
- 6 tablespoons unsalted butter – melted
- 16 ounces cream cheese – softened to room temperature
- 1/2 cup granulated sugar – sweetens the mixture
- 1 teaspoon vanilla extract – enhances the flavor
- 1 1/2 cups heavy whipping cream – for a creamy texture
- Optional: extra Oreo crumbs – for topping
- Optional: whipped cream – for decoration
How to Make No bake Oreo cheesecake
This delightful No bake Oreo cheesecake is a creamy, dreamy dessert that requires no baking! With a prep time of about 20 minutes and a chilling time of 4–6 hours (or overnight), you’ll be enjoying this sweet treat in no time!

Step 1: Separate the Cookies
Separate 24 Oreo cookies, reserving 2 tablespoons of crumbs for topping. Crush the remaining cookies into fine crumbs.
Step 2: Make the Crust
Combine Oreo crumbs with melted butter in a bowl. Press the mixture firmly into the bottom of a 9-inch springform pan to form the crust. Chill in the refrigerator for 15 minutes.
Step 3: Prepare the Filling
In a large mixing bowl, beat softened cream cheese, granulated sugar, and vanilla extract until smooth and creamy.
Step 4: Whip the Cream
In a separate bowl, whip heavy cream until stiff peaks form.
Step 5: Combine Mixtures
Gently fold the whipped cream into the cream cheese mixture until fully combined.
Step 6: Add Oreo Pieces
Fold in about 1 cup of roughly chopped Oreo pieces into the filling.
Step 7: Pour the Filling
Pour the filling over the chilled crust, smoothing the top with a spatula.
Step 8: Add Toppings
Sprinkle the reserved Oreo crumbs on top. Add optional whipped cream or extra cookie pieces if desired.
Step 9: Chill the Cheesecake
Refrigerate the cheesecake for at least 4–6 hours, or overnight, until fully set.
Step 10: Serve
Release the sides of the springform pan, slice, and serve chilled.
Recipe Snapshot
| Feature | Details |
|---|---|
| Category | Dessert |
| Cuisine | American |
| Prep Time | 20 minutes |
| Cook Time | 0 minutes |
| Extra Time | 4-6 hours (resting) |
| Total Time | 360 minutes |
| Dietary | Vegetarian |
| Serves | 8 |
| Best Served | Chilled and creamy |
Pro Tips for Making No bake Oreo cheesecake
- Crush Oreos finely for a smoother crust.
- Chill the cheesecake overnight for best results.
- Use room temperature cream cheese for easier mixing.
- Add whipped cream on top for extra fluffiness.
- Experiment with different flavors of Oreos for a twist.
How to Serve this No bake Oreo cheesecake
- Top with whipped cream and crushed Oreos for extra crunch.
- Serve with a drizzle of chocolate or caramel sauce.
- Pair with fresh berries for a fruity contrast.
- Enjoy with a scoop of vanilla ice cream on the side.
- Garnish with mint leaves for a refreshing touch.
- Slice into squares and serve at parties for easy sharing.
Make Ahead and Storage
You can make this delicious dessert ahead of time and store it with ease:
Storing No bake Oreo cheesecake Leftovers
- Cover the cheesecake with plastic wrap or aluminum foil.
- Store in the refrigerator for up to 3-4 days.
- Keep it in an airtight container for best freshness.
Freezing No bake Oreo cheesecake
- Wrap individual slices in plastic wrap tightly.
- Place wrapped slices in a freezer-safe container.
- Freeze for up to 2-3 months for optimal quality.
Reheating No bake Oreo cheesecake
- Thaw in the refrigerator overnight before serving.
- Avoid using a microwave to maintain texture.
- Serve chilled for the best taste and experience.
Explore more easy breakfast recipes, quick lunch ideas, cozy dinner meals, tasty snacks, and delightful dessert.
FAQs
Here’s a helpful FAQ about this recipe:
1. What ingredients do I need to make a no bake Oreo cheesecake?
To make a no bake Oreo cheesecake, you will need cream cheese, powdered sugar, heavy cream, vanilla extract, and of course, Oreo cookies. For the crust, you can use crushed Oreos mixed with melted butter. This combination creates a rich and creamy dessert that’s sure to impress!
2. How do I prepare the Oreo crust for a no bake cheesecake?
To prepare the Oreo crust, start by crushing the Oreo cookies into fine crumbs. You can do this using a food processor or by placing them in a zip-top bag and crushing them with a rolling pin. Once you have the crumbs, mix them with melted butter until well combined. Press the mixture firmly into the bottom of a springform pan to create a solid crust. Chill it in the refrigerator while you prepare the filling for the cheesecake.
3. What’s the best way to ensure the cheesecake sets properly without baking?
To ensure your no bake Oreo cheesecake sets properly, make sure to use full-fat cream cheese and whip the heavy cream until stiff peaks form. This will give your cheesecake a light and airy texture. Additionally, chilling the cheesecake for the recommended time allows it to firm up. If you want to be extra sure, you can add a bit of gelatin to the filling, which helps it set even more securely without baking.
4. How long should I chill a no bake Oreo cheesecake before serving?
You should chill your no bake Oreo cheesecake for at least 4 to 6 hours, but overnight is even better! This allows the flavors to meld together and the cheesecake to set properly. If you’re in a hurry, a minimum of 4 hours will still yield a delicious dessert, but for the best results, plan ahead and let it chill overnight before serving.
Final Thoughts
Get ready to indulge in a slice of nostalgia with this No Bake Oreo Cheesecake! It’s so easy to whip up, and the creamy, dreamy layers will have everyone coming back for seconds. Enjoy the delightful crunch of Oreos and the smooth cheesecake filling—perfect for any occasion. Dive in and savor the sweetness!