

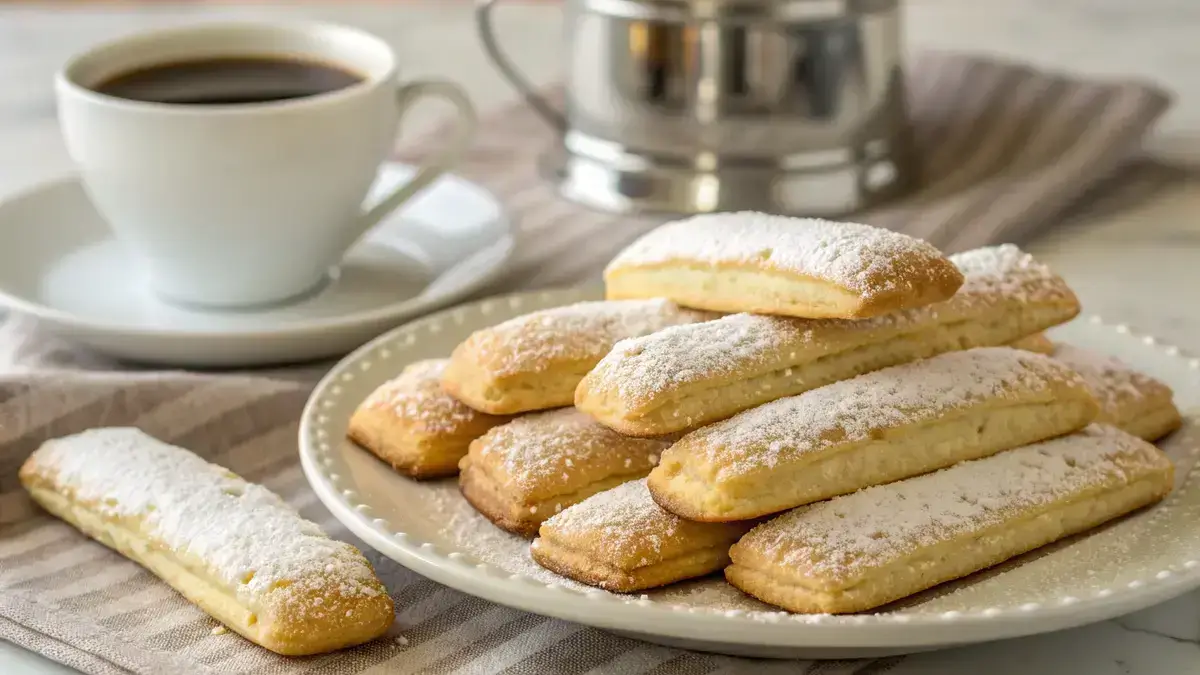
Recipe card
Print / PDFLady Fingers
Rate this recipe
Be the first to rate
- Prep Time
- 20 mins
- Cook Time
- 15 mins
- Total Time
- 35 mins
Ingredients
- 4 large eggs (Separated)
- ½ cup granulated sugar (Divided)
- 1 teaspoon vanilla extract (For flavor)
- ½ cup all-purpose flour (Gives structure)
- ¼ cup cornstarch (For lightness)
- a pinch salt (Enhances flavor)
- powdered sugar (For dusting)
Equipment
- 2 Baking sheets — Line with parchment paper
- 1 piping bag — Fitted with a plain round tip
- 1 Mixing bowls — For separating egg whites and yolks
Method
- 1
Step 1: Preheat your oven to 350°F (180°C). Line two baking sheets with parchment paper to prevent sticking.
- 2
Step 2: In a clean bowl, beat the egg whites with a pinch of salt until soft peaks form. Gradually add half of the granulated sugar and keep beating until you achieve stiff, glossy peaks.
- 3
Step 3: In another bowl, whisk the egg yolks with the remaining sugar and vanilla extract until the mixture is pale and thick.
- 4
Step 4: Gently fold the beaten egg whites into the yolk mixture in two additions. Be careful not to deflate the batter!
- 5
Step 5: Sift together the flour and cornstarch, then gently fold this into the egg mixture until just combined.
- 6
Step 6: Transfer the batter to a piping bag fitted with a plain round tip. Pipe 3-inch-long strips, spaced 1 inch apart on the prepared baking sheets.
- 7
Step 7: Lightly dust the tops of the piped strips with powdered sugar for a sweet touch.
- 8
Step 8: Bake in the preheated oven for 12–15 minutes or until the lady fingers are firm to the touch and lightly golden.
- 9
Step 9: Remove from the oven and let them cool completely on the baking sheets before using. Enjoy your homemade lady fingers!
Notes
| Nutrient | Amount per Serving |
|---|---|
| Calories | 50 |
| Fat | 1g |
| Protein | 1g |
| Carbs | 10g |
Why You’ll Love This lady fingers
- Perfectly light and airy texture that melts in your mouth.
- Versatile treat for desserts or as a delightful snack.
- Simple ingredients make it easy to whip up at home.
- Great for pairing with coffee, tea, or your favorite dessert.
Ingredients
Here’s what you need to make delicious lady fingers!
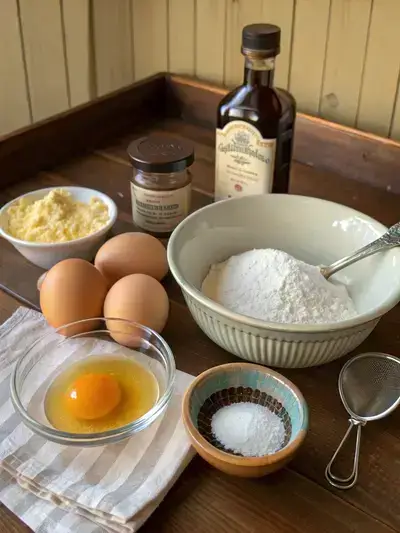
- 4 large eggs – separated
- ½ cup granulated sugar – divided
- 1 teaspoon vanilla extract – for flavor
- ½ cup all-purpose flour – gives structure
- ¼ cup cornstarch – for lightness
- pinch of salt – enhances flavor
- powdered sugar – for dusting
How to Make Lady Fingers
This delightful lady fingers recipe takes about 20 minutes to prepare and 12–15 minutes to bake. Allow them to cool completely before using, which adds a little extra time but is totally worth it!
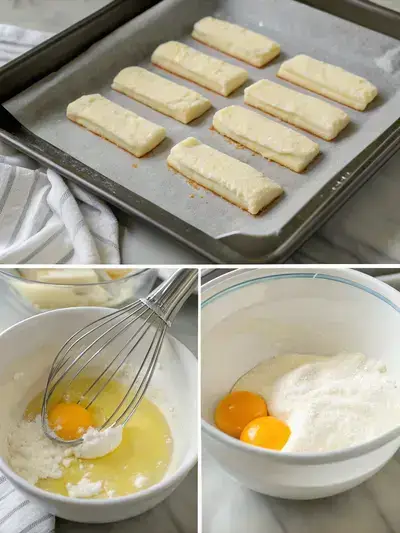
Step 1: Preheat the Oven
Preheat your oven to 350°F (180°C). Line two baking sheets with parchment paper to prevent sticking.
Step 2: Beat the Egg Whites
In a clean bowl, beat the egg whites with a pinch of salt until soft peaks form. Gradually add half of the granulated sugar and keep beating until you achieve stiff, glossy peaks.
Step 3: Whisk the Egg Yolks
In another bowl, whisk the egg yolks with the remaining sugar and vanilla extract until the mixture is pale and thick.
Step 4: Fold the Mixtures
Gently fold the beaten egg whites into the yolk mixture in two additions. Be careful not to deflate the batter!
Step 5: Add the Dry Ingredients
Sift together the flour and cornstarch, then gently fold this into the egg mixture until just combined.
Step 6: Pipe the Batter
Transfer the batter to a piping bag fitted with a plain round tip. Pipe 3-inch-long strips, spaced 1 inch apart on the prepared baking sheets.
Step 7: Dust with Sugar
Lightly dust the tops of the piped strips with powdered sugar for a sweet touch.
Step 8: Bake
Bake in the preheated oven for 12–15 minutes or until the lady fingers are firm to the touch and lightly golden.
Step 9: Cool Completely
Remove from the oven and let them cool completely on the baking sheets before using. Enjoy your homemade lady fingers!
Recipe Snapshot
| Feature | Details |
|---|---|
| Category | Dessert |
| Cuisine | Italian |
| Prep Time | 20 minutes |
| Cook Time | 15 minutes |
| Extra Time | 0 minutes |
| Total Time | 35 minutes |
| Dietary | Vegetarian |
| Serves | 0 servings |
| Best Served | With coffee or as a dessert base! |
Pro Tips for Making lady fingers
- Ensure your eggs are at room temperature for better volume.
- Pipe the batter in uniform shapes for even baking.
- Dust with powdered sugar right after baking for a lovely finish.
- Let them cool completely before storing to maintain crispiness.
How to Serve this lady fingers
- Dust with powdered sugar for a sweet touch.
- Serve with a side of fresh fruit or berries.
- Pair with a dollop of whipped cream or yogurt.
- Enjoy with a cup of tea or coffee for a delightful snack.
- Dip in chocolate sauce for an indulgent treat.
- Layer in a trifle with custard and fruit for a stunning dessert.
Make Ahead and Storage
Here’s how to keep your lady fingers fresh and delicious:
Storing Leftovers
- Allow lady fingers to cool completely.
- Place them in an airtight container.
- Store in the refrigerator for up to 3 days.
Freezing
- Wrap each lady finger in plastic wrap.
- Place wrapped lady fingers in a freezer-safe bag.
- Label and freeze for up to 2 months.
Reheating
- Preheat your oven to 350°F (175°C).
- Place lady fingers on a baking sheet.
- Heat for about 5-7 minutes until warm.
- Enjoy them crisp and fresh!
Explore more easy breakfast recipes, quick lunch ideas, cozy dinner meals, tasty snacks, and delightful dessert.
Final Thoughts
Now that you have this easy homemade lady fingers recipe, it’s time to roll up your sleeves and get baking! These light, crispy delights are perfect for any occasion, and the best part? They’re so simple to make! Enjoy them with your favorite dessert or just on their own. Happy baking!
Quick answers
Frequently asked questions
Straight answers from the kitchen — storage, swaps, and common sticking points for this recipe.
What is ladyfinger called in the USA?
Are okra and lady fingers the same?
What are lady fingers called in the USA?
Are ladyfingers soft or crunchy?
Kitchen notes
Nutrition & sources
Calorie and nutrition figures on this page are estimates meant for general home-cooking guidance. Actual values vary with brands, portion size, and how the recipe is prepared.
Estimates draw on typical ingredient data from public nutrition databases such as the USDA FoodData Central. They are not a substitute for professional medical or dietary advice.
For how recipes are tested and when pages are updated, see How we test recipes. Full legal context lives in our disclaimers and affiliate disclosure.


Comments
Made this recipe? Share how it turned out for your family.
No comments yet — be the first to leave a note.