

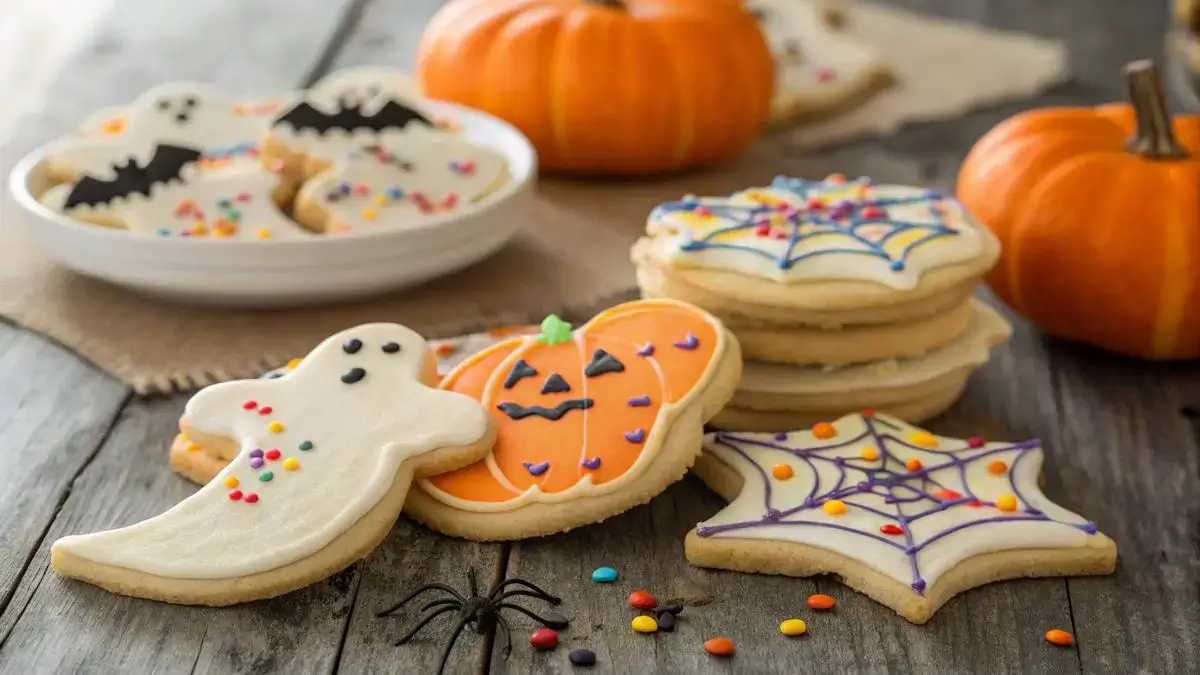
Recipe card
Print / PDFHalloween Cookies
Rate this recipe
Be the first to rate
- Prep Time
- 20 mins
- Cook Time
- 10 mins
- cooling
- 5 mins
- Total Time
- 35 mins
Ingredients
- 2 ¾ cups all-purpose flour (the base of your cookies)
- 1 teaspoon baking soda (helps the cookies rise)
- ½ teaspoon baking powder (adds fluffiness)
- 1 cup unsalted butter (softened for easy mixing)
- 1 ½ cups white sugar (sweetens the treats)
- 1 large egg (binds the ingredients together)
- 1 teaspoon vanilla extract (adds delightful flavor)
- ½ teaspoon almond extract (optional for extra flavor)
- as needed Food coloring (orange, black, green for Halloween vibes)
- as needed Royal icing or icing sugar glaze (for decorating)
- as needed Assorted Halloween sprinkles and decorations (to make them festive)
Equipment
- 1 Baking sheet — For baking the cookies
- 1 Parchment paper — To line the baking sheet
- 1 Mixing bowl — For mixing ingredients
- 1 whisk — For mixing dry ingredients
- 1 Rolling Pin — For rolling out the dough
- 1 Cookie cutters — For cutting out shapes
- 1 wire rack — For cooling the cookies
Method
- 1
Preheat your oven to 375°F (190°C). Line your baking sheets with parchment paper to prevent sticking.
- 2
In a bowl, whisk together flour, baking soda, and baking powder. Set this mixture aside for later.
- 3
In a large bowl, cream together softened butter and sugar until the mixture is smooth and fluffy.
- 4
Beat in the egg, vanilla extract, and almond extract until everything is well combined.
- 5
Gradually add the dry ingredients to the wet ingredients, mixing until a dough forms.
- 6
Divide the dough into portions and tint each with your desired food coloring for a festive touch.
- 7
Roll out the dough on a lightly floured surface to about 1/4-inch thickness.
- 8
Use Halloween cookie cutters to cut out fun shapes like pumpkins, ghosts, and bats.
- 9
Place the cookies 1 inch apart on the prepared baking sheets. Bake for 8–10 minutes, until the edges are just beginning to brown.
- 10
Let the cookies cool on the baking sheet for 5 minutes, then transfer them to a wire rack to cool completely.
- 11
Once cooled, decorate your cookies with royal icing, glaze, and sprinkles as desired. Enjoy your spooky treats!
Notes
| Nutrient | Amount per Serving |
|---|---|
| Nutrition Facts | Per Serving |
| Calories | 150 |
| Fat | 7g |
| Protein | 2g |
| Carbs | 22g |
| Sugar | 10g |
Why You’ll Love This HALLOWEEN COOKIES
- Perfect for festive gatherings and spooky celebrations.
- Easy to customize with fun shapes and colors.
- Deliciously soft and chewy, a treat for all ages.
- Great for bonding time with family and friends.
- Fill your home with delightful autumn aromas.
Ingredients
Get ready for a spooktacular baking session with these fun Halloween cookie ingredients!
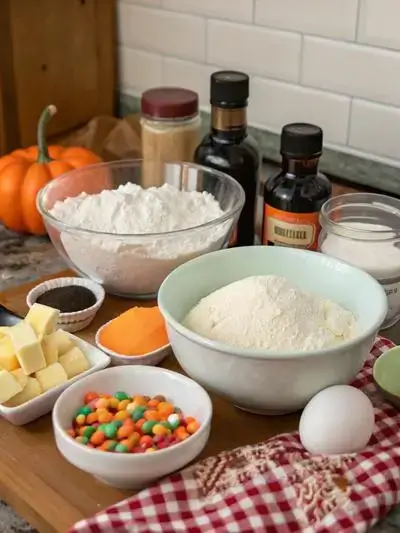
- 2 ¾ cups all-purpose flour – the base of your cookies
- 1 teaspoon baking soda – helps the cookies rise
- ½ teaspoon baking powder – adds fluffiness
- 1 cup unsalted butter – softened for easy mixing
- 1 ½ cups white sugar – sweetens the treats
- 1 egg – binds the ingredients together
- 1 teaspoon vanilla extract – adds delightful flavor
- ½ teaspoon almond extract – optional for extra flavor
- Food coloring – orange, black, green for Halloween vibes
- Royal icing or icing sugar glaze – for decorating
- Assorted Halloween sprinkles and decorations – to make them festive
How to Make HALLOWEEN COOKIES
Get ready for some spooky fun! These Halloween cookies are perfect for celebrating the season. With a preparation time of 20 minutes, cooking time of 10 minutes, and an additional 5 minutes for cooling, you’ll have delicious treats in no time!
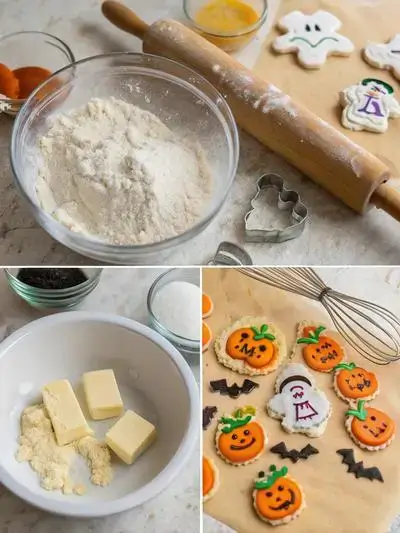
Step 1: Preheat the Oven
Preheat your oven to 375°F (190°C). Line your baking sheets with parchment paper to prevent sticking.
Step 2: Mix Dry Ingredients
In a bowl, whisk together flour, baking soda, and baking powder. Set this mixture aside for later.
Step 3: Cream Butter and Sugar
In a large bowl, cream together softened butter and sugar until the mixture is smooth and fluffy.
Step 4: Add Wet Ingredients
Beat in the egg, vanilla extract, and almond extract until everything is well combined.
Step 5: Combine Ingredients
Gradually add the dry ingredients to the wet ingredients, mixing until a dough forms.
Step 6: Color the Dough
Divide the dough into portions and tint each with your desired food coloring for a festive touch.
Step 7: Roll Out the Dough
Roll out the dough on a lightly floured surface to about 1/4-inch thickness.
Step 8: Cut Out Shapes
Use Halloween cookie cutters to cut out fun shapes like pumpkins, ghosts, and bats.
Step 9: Bake the Cookies
Place the cookies 1 inch apart on the prepared baking sheets. Bake for 8–10 minutes, until the edges are just beginning to brown.
Step 10: Cool the Cookies
Let the cookies cool on the baking sheet for 5 minutes, then transfer them to a wire rack to cool completely.
Step 11: Decorate
Once cooled, decorate your cookies with royal icing, glaze, and sprinkles as desired. Enjoy your spooky treats!
Recipe Snapshot
| Feature | Details |
|---|---|
| Category | Dessert |
| Cuisine | American |
| Prep Time | 20 minutes |
| Cook Time | 10 minutes |
| Extra Time | 5 minutes (cooling) |
| Total Time | 35 minutes |
| Dietary | Vegetarian |
| Serves | 24 servings |
| Best Served | Decorated and festive! |
Pro Tips for Making HALLOWEEN COOKIES
- Chill your dough for at least 30 minutes for better shaping.
- Use gel food coloring for vibrant, spooky designs.
- Experiment with different sprinkles for a festive touch.
- Don’t overbake; cookies should be soft in the center.
- Let cookies cool completely before decorating for best results.
How to Serve this HALLOWEEN COOKIES
- Serve with a glass of spooky pumpkin spice latte.
- Pair with a side of creamy vanilla yogurt for dipping.
- Arrange on a festive platter with colorful candy corn.
- Include a bowl of warm apple cider for a cozy treat.
Make Ahead and Storage
Keep your Halloween cookies fresh and delicious with these simple storage tips:
Storing HALLOWEEN COOKIES Leftovers
- Allow cookies to cool completely before storing.
- Place in an airtight container to maintain freshness.
- Layer cookies with parchment paper to prevent sticking.
- Store at room temperature for up to one week.
Freezing HALLOWEEN COOKIES
- Wrap cookies individually in plastic wrap.
- Place wrapped cookies in a freezer-safe bag or container.
- Label with the date for easy tracking.
- Freeze for up to three months for best quality.
Reheating HALLOWEEN COOKIES
- Preheat your oven to 350°F (175°C).
- Place cookies on a baking sheet lined with parchment paper.
- Heat for 5-7 minutes until warm.
- Enjoy the fresh-baked taste and texture!
Explore more easy breakfast recipes, quick lunch ideas, cozy dinner meals, tasty snacks, and delightful dessert.
Final Thoughts
As you dive into making these delightful Halloween cookies, remember the joy of creating something special! It’s a simple and rewarding experience that brings back those nostalgic childhood memories. So gather your loved ones, get creative with decorations, and enjoy every bite of your spooky treats. Happy baking!
Quick answers
Frequently asked questions
Straight answers from the kitchen — storage, swaps, and common sticking points for this recipe.
What are some easy Halloween cookie recipes for beginners?
How can I decorate Halloween cookies to look like ghosts, pumpkins, or bats?
What ingredients and tools do I need to make and decorate Halloween cookies?
How can I make Halloween cookies ahead of time and store them properly?
Kitchen notes
Nutrition & sources
Calorie and nutrition figures on this page are estimates meant for general home-cooking guidance. Actual values vary with brands, portion size, and how the recipe is prepared.
Estimates draw on typical ingredient data from public nutrition databases such as the USDA FoodData Central. They are not a substitute for professional medical or dietary advice.
For how recipes are tested and when pages are updated, see How we test recipes. Full legal context lives in our disclaimers and affiliate disclosure.


Comments
Made this recipe? Share how it turned out for your family.
No comments yet — be the first to leave a note.