

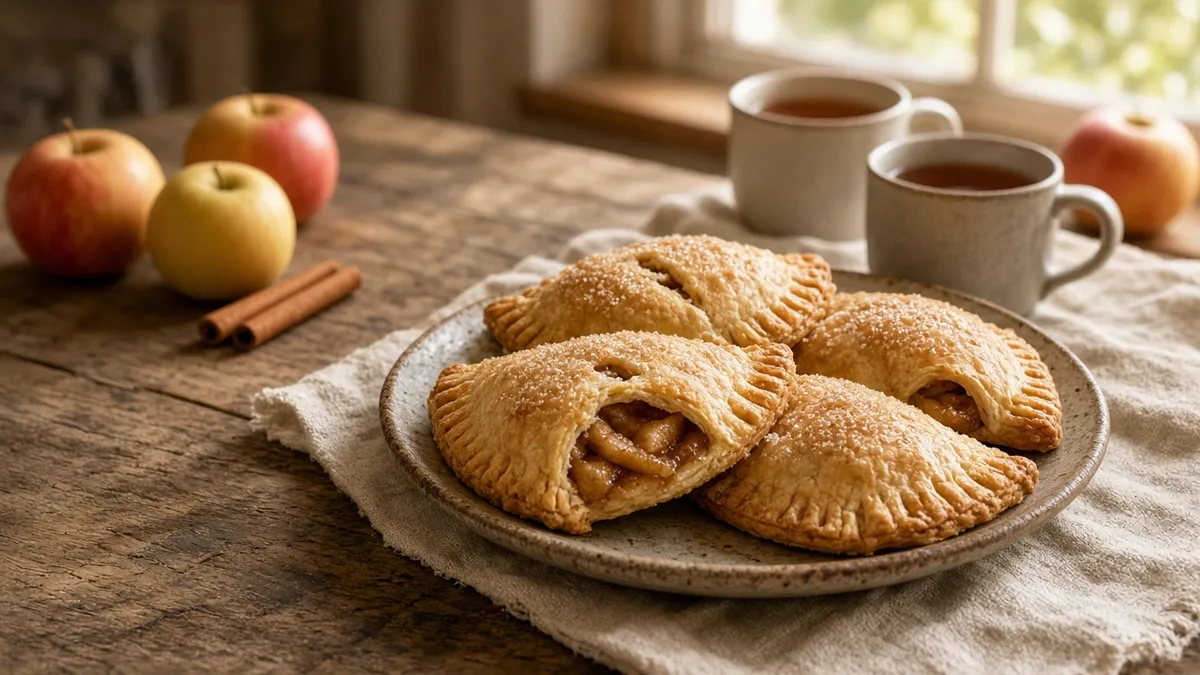
Recipe card
Print / PDFGrandma's Homemade Apple Hand Pies
Rate this recipe
Be the first to rate
- Prep Time
- 35 mins
- Cook Time
- 26 mins
- Extra Time
- 30 mins
- Total Time
- 1 hr 31 mins
Ingredients
- 2 1/2 cups all purpose flour
- 1/2 teaspoon salt
- 1 tablespoon granulated sugar
- 1 cup cold unsalted butter, cut into small cubes
- 6 tablespoons ice water
- 3 medium apples, peeled, cored, and finely diced
- 1/3 cup packed brown sugar
- 1 teaspoon ground cinnamon
- 1 tablespoon lemon juice
- 1 tablespoon cornstarch
- 1 large egg
- 1 tablespoon water
- 1 tablespoon coarse sugar for topping
Equipment
- Large mixing bowl — For preparing the pastry dough
- Rolling pin — For rolling the dough evenly
- 5 inch round cutter — A bowl or glass can work as a substitute
- Baking sheet — Line with parchment for easier cleanup
- Pastry brush — For applying the egg wash
Method
- 1
Whisk the flour, salt, and granulated sugar in a large bowl.
- 2
Cut the cold butter into the flour mixture until coarse crumbs form.
- 3
Stir in the ice water until the dough begins to hold together.
- 4
Chill the dough for 30 minutes.
- 5
Combine the diced apples, brown sugar, cinnamon, lemon juice, and cornstarch in a bowl.
- 6
Preheat the oven to 400°F.
- 7
Roll the dough to 1/8 inch thickness on a lightly floured surface.
- 8
Cut the dough into sixteen 5 inch circles.
- 9
Spoon the apple filling onto eight dough circles.
- 10
Fold the remaining dough circles over the filling and crimp the edges with a fork.
- 11
Brush the pies with the beaten egg mixed with water and sprinkle them with coarse sugar.
- 12
Bake the pies for 22 to 26 minutes, then cool them for 15 minutes.
Notes
| Nutrient | Amount per Serving |
|---|---|
| Calories | 390 |
| Fat | 20g |
| Protein | 5g |
| Carbs | 51g |
Why You'll Love This Pies And Apples
- Each little hand pie is filled with tender apples, warm cinnamon, and brown sugar.
- The buttery pastry turns golden and flaky in the oven.
- These pies and apples are easy to hold, share, and enjoy without a plate.
- They are just right for afternoon tea, lunchboxes, or a cozy family dessert.
- You can make them ahead for an especially comforting treat.
Ingredients
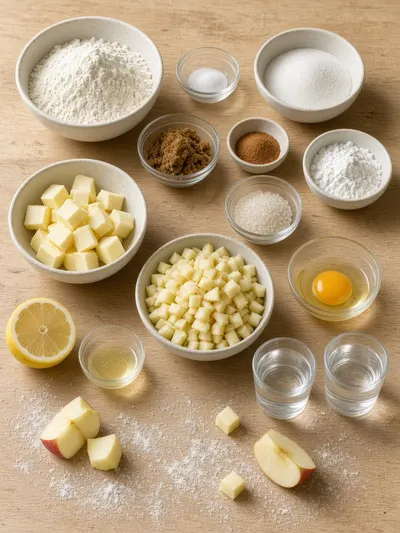
Gather these simple kitchen staples, and you will be on your way to a batch of sweet, old-fashioned apple hand pies.
- All purpose flour - 2 1/2 cups
- Salt - 1/2 teaspoon
- Granulated sugar - 1 tablespoon
- Unsalted butter - 1 cup cold, cut into small cubes
- Ice water - 6 tablespoons
- Apples - 3 medium, peeled, cored, and finely diced
- Brown sugar - 1/3 cup packed
- Ground cinnamon - 1 teaspoon
- Lemon juice - 1 tablespoon
- Cornstarch - 1 tablespoon
- Large egg - 1
- Water - 1 tablespoon
- Coarse sugar - 1 tablespoon for topping
How to Make Pies And Apples
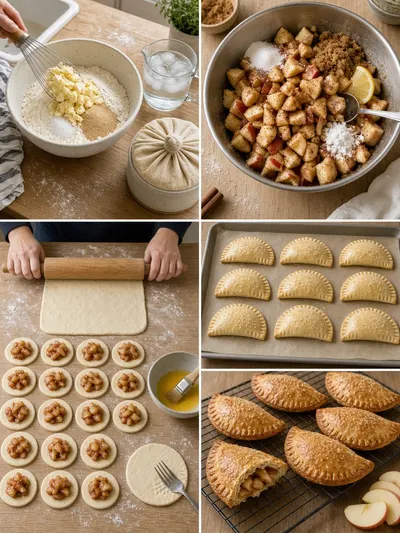
Plan on about 35 minutes of prep, 26 minutes of baking, and 30 minutes of chilling time, plus 15 minutes for the baked pies to rest before serving.
Step 1: Whisk the Dry Ingredients
Whisk the flour, salt, and granulated sugar together in a large bowl. This spreads the salt and sugar evenly through the flour.
Step 2: Cut in the Butter
Add the cold butter cubes to the flour mixture. Cut them in until coarse crumbs form, leaving a few small visible pieces of butter for a tender, flaky crust.
Step 3: Add the Water
Stir in the ice water until the dough begins to hold together. Use a gentle hand and stop mixing as soon as the dough comes together.
Step 4: Chill the Dough
Chill the dough for 30 minutes. This gives the butter time to firm up and makes the dough easier to roll.
Step 5: Mix the Apple Filling
Combine the diced apples, brown sugar, cinnamon, lemon juice, and cornstarch in a bowl. Stir until the apples are evenly coated and the filling looks glossy.
Step 6: Preheat the Oven
Preheat the oven to 400°F. Let it fully preheat so the pastry begins baking at the right temperature.
Step 7: Roll the Dough
Roll the chilled dough to 1/8 inch thickness on a lightly floured surface. Roll gently and evenly so the circles will bake at the same rate.
Step 8: Cut the Circles
Cut the dough into sixteen 5 inch circles. Gather and reroll scraps gently if needed to make all sixteen circles.
Step 9: Fill Eight Circles
Spoon the apple filling onto eight dough circles, keeping the filling in the center. Leave a little border around each circle so the edges can be sealed.
Step 10: Seal the Hand Pies
Fold the remaining dough circles over the filling. Crimp the edges with a fork to seal each pie and give the crust a pretty homemade finish.
Step 11: Add the Topping
Brush the pies with the beaten egg mixed with water. Sprinkle them with coarse sugar for a lightly crisp, sparkling topping.
Step 12: Bake and Cool
Bake the pies for 22 to 26 minutes, until the pastry is golden. Cool them for 15 minutes before serving, since the apple filling will be very hot.
Recipe Snapshot
| Feature | Details |
|---|---|
| Category/Course | Dessert |
| Cuisine | American |
| Prep Time | 35 minutes |
| Cook Time | 26 minutes |
| Extra Time | 30 minutes chilling and 15 minutes cooling |
| Total Time | 1 hour 31 minutes |
| Dietary | Vegetarian |
| Serves | 8 |
| Best Served | Warm or at room temperature with cold milk |
Pro Tips for Making Pies And Apples
- Keep the butter and water cold so the pastry stays light and flaky.
- Dice the apples finely so they soften fully inside the hand pies.
- Do not overfill the circles, since too much filling can make sealing difficult.
- Press the fork firmly around the edges, but avoid tearing the dough.
- Let the pies cool before biting in, as the filling stays hot longer than the crust.
How to Serve Pies And Apples
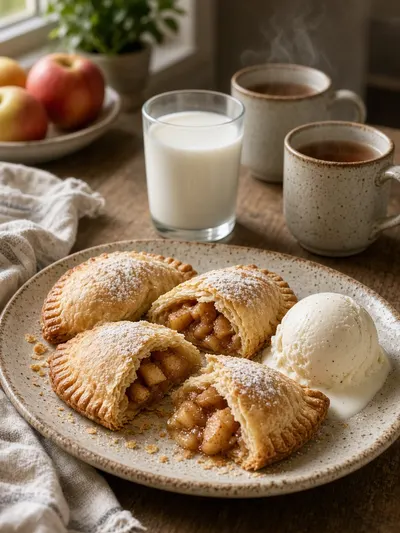
- Serve the hand pies slightly warm with a glass of cold milk.
- Add a scoop of vanilla ice cream for a classic apple dessert.
- Set them out with mugs of warm tea for a gentle afternoon treat.
- Dust cooled pies lightly with powdered sugar if you like a pretty finishing touch.
Make Ahead and Storage
Storing Leftovers
- Store cooled hand pies in an airtight container at room temperature for up to 2 days.
- For longer storage, refrigerate them in a covered container for up to 5 days.
- Place parchment between layers if stacking the pies.
Freezing
- Freeze cooled baked pies in a freezer-safe container for up to 2 months.
- Wrap each pie individually before placing them in the container to help prevent freezer burn.
- Thaw frozen pies in the refrigerator overnight or warm them from frozen in the oven.
Reheating
- Warm refrigerated pies in a 350°F oven for 8 to 12 minutes.
- Heat frozen pies in a 350°F oven until warmed through, usually 15 to 20 minutes.
- Let reheated pies rest briefly before serving, as the filling can be hot.
Explore more easy breakfast recipes, quick lunch ideas, cozy dinner meals, tasty snacks, and delightful dessert.
Final Thoughts
These golden pies and apples bring a little taste of Grandma's kitchen to every cozy gathering.
FAQs
Here are a few helpful answers for making these sweet hand pies at home.
Can I use a different kind of apple?
Yes. Firm sweet-tart apples such as Granny Smith, Honeycrisp, or Pink Lady work well and hold their shape during baking.
Why does the dough need to be chilled?
Chilling firms the butter and relaxes the dough, which helps create a tender crust that is easier to roll and shape.
Can I prepare the hand pies before baking?
Yes. Assemble the pies, cover them, and refrigerate them for several hours before brushing with egg wash, topping with sugar, and baking.
How do I know when the hand pies are done?
They are ready when the pastry is golden brown and the edges look set. Allow them to cool for 15 minutes before serving.
Kitchen notes
Nutrition & sources
Calorie and nutrition figures on this page are estimates meant for general home-cooking guidance. Actual values vary with brands, portion size, and how the recipe is prepared.
Estimates draw on typical ingredient data from public nutrition databases such as the USDA FoodData Central. They are not a substitute for professional medical or dietary advice.
For how recipes are tested and when pages are updated, see How we test recipes. Full legal context lives in our disclaimers and affiliate disclosure.


Comments
Made this recipe? Share how it turned out for your family.
No comments yet — be the first to leave a note.