

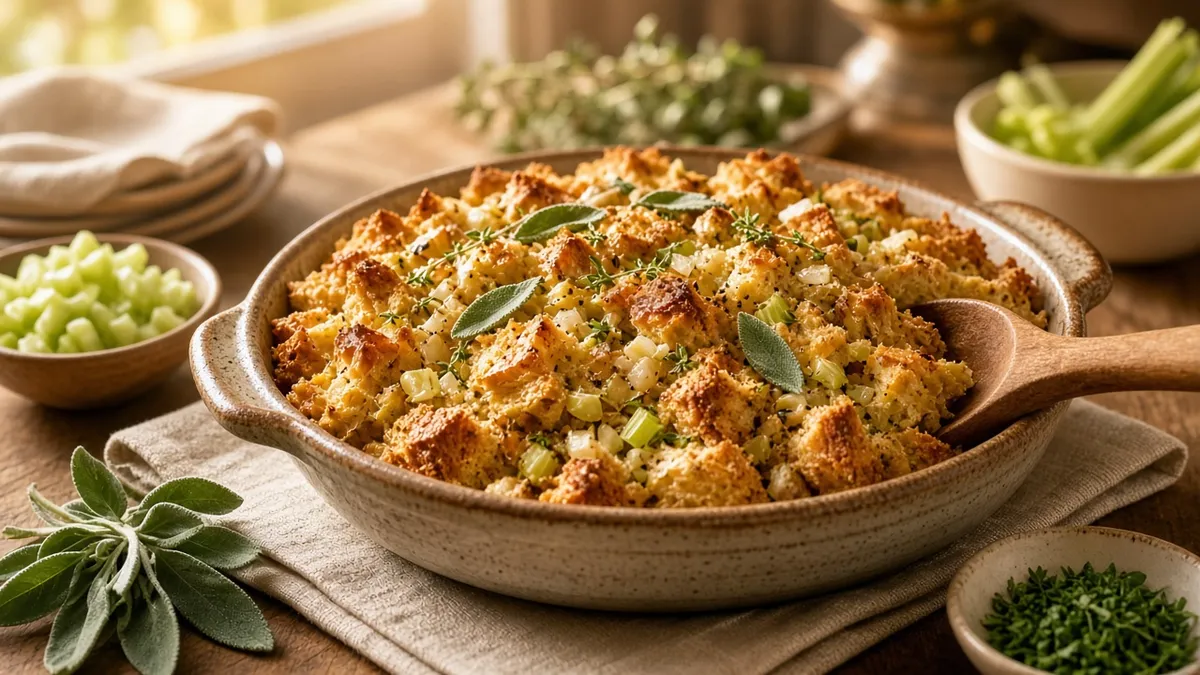
Recipe card
Print / PDFClassic Bread Stuffing Recipe
Rate this recipe
Be the first to rate
- Prep Time
- 20 mins
- Cook Time
- 40 mins
- Total Time
- 1 hr
Ingredients
- 12 cups day-old white or wheat bread cubes
- 1/2 cup unsalted butter
- 1 medium yellow onion, finely diced
- 3 celery stalks, finely diced
- 2 teaspoons dried sage
- 1 teaspoon dried thyme
- 1 teaspoon kosher salt
- 1/2 teaspoon black pepper
- 2 1/2 cups low-sodium chicken or vegetable broth
- 2 large eggs, lightly beaten
- 2 tablespoons chopped fresh parsley
Equipment
- 9x13-inch baking dish — Use a glass or ceramic casserole dish.
- Large skillet — For softening the vegetables in butter.
- Large mixing bowl — Choose a bowl roomy enough for tossing the bread.
- Measuring cups and spoons — For consistent ingredients.
- Aluminum foil — For covering the stuffing during the first part of baking.
Method
- 1
Preheat the oven to 350°F.
- 2
Grease a 9x13-inch baking dish with butter.
- 3
Melt the butter in a large skillet over medium heat.
- 4
Cook the onion and celery until softened, about 7 minutes.
- 5
Stir the sage, thyme, salt, and pepper into the skillet.
- 6
Place the bread cubes in a large mixing bowl.
- 7
Pour the seasoned butter mixture over the bread cubes.
- 8
Add the broth and beaten eggs to the bowl.
- 9
Toss the mixture gently until the bread is evenly moistened.
- 10
Transfer the stuffing to the prepared baking dish.
- 11
Cover the dish with foil and bake for 25 minutes.
- 12
Remove the foil and bake for 15 minutes, until the top is golden.
Kitchen pick
As an Amazon Associate I earn from qualifying purchases. If you buy through these links, we may earn a small commission at no extra cost to you. Affiliate disclosure
Notes
| Nutrient | Amount per Serving |
|---|---|
| Calories | 320 |
| Fat | 15g |
| Protein | 8g |
| Carbs | 39g |
Why You'll Love This Classic Stuffing Recipe
- It has crisp golden edges and a tender, savory center.
- Buttery onion, celery, sage, and thyme fill the kitchen with comforting holiday aromas.
- The simple ingredients are easy to find and come together in one baking dish.
- It pairs beautifully with turkey, gravy, cranberry sauce, and all your favorite Thanksgiving recipes.
- You can prepare it ahead, making the big meal feel a little more relaxed.
Ingredients
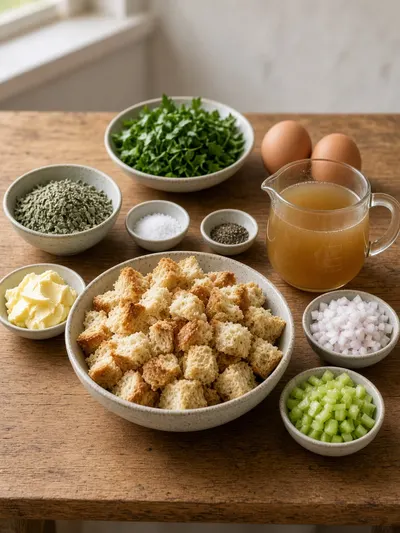
Gather these humble ingredients for a pan of stuffing that tastes wonderfully familiar, with plenty of buttery herbs and golden, crisp edges.
- Day-old white or wheat bread cubes - 12 cups
- Unsalted butter - 1/2 cup
- Yellow onion - 1 medium, finely diced
- Celery stalks - 3, finely diced
- Dried sage - 2 teaspoons
- Dried thyme - 1 teaspoon
- Kosher salt - 1 teaspoon
- Black pepper - 1/2 teaspoon
- Low-sodium chicken or vegetable broth - 2 1/2 cups
- Large eggs - 2, lightly beaten
- Fresh parsley - 2 tablespoons, chopped
How to Make Classic Stuffing Recipe
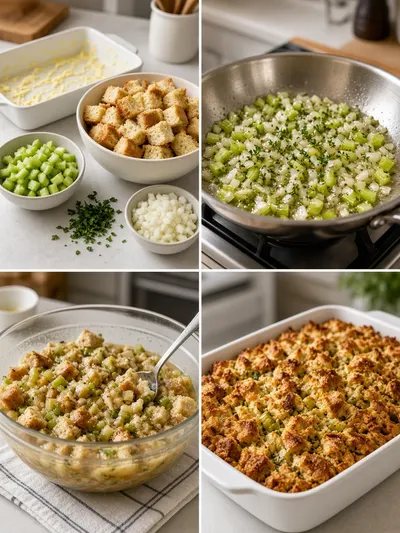
Plan on 20 minutes of prep and 40 minutes of baking time. Let the stuffing rest for a few minutes before serving so the warm, tender center settles nicely.
Step 1: Preheat the Oven
Preheat the oven to 350°F. Giving the oven time to reach temperature helps the stuffing bake evenly from the first minute.
Step 2: Grease the Baking Dish
Grease a 9x13-inch baking dish with a little butter. This helps prevent sticking and adds a bit more richness around the edges.
Step 3: Melt the Butter
Melt the butter in a large skillet over medium heat. Keep an eye on it so it melts smoothly without browning.
Step 4: Soften the Vegetables
Add the onion and celery to the skillet. Cook for about 7 minutes, stirring occasionally, until the vegetables are tender.
Step 5: Add the Herbs
Stir the sage, thyme, salt, and black pepper into the skillet. Let the herbs warm in the butter for a minute so their cozy flavor comes through.
Step 6: Add the Bread
Place the bread cubes in a large mixing bowl. Use a bowl with plenty of room so you can toss everything gently without spilling.
Step 7: Pour Over the Seasoned Butter
Pour the warm seasoned butter mixture over the bread cubes. Drizzle it around the bowl so the vegetables and herbs are spread throughout.
Step 8: Add Broth and Eggs
Add the broth and lightly beaten eggs to the bowl. The broth brings moisture and savory flavor, while the eggs help the stuffing hold together.
Step 9: Toss Gently
Toss the mixture gently until the bread is evenly moistened. Avoid crushing the cubes, and stop when the mixture is moist but not soupy.
Step 10: Fill the Baking Dish
Transfer the stuffing to the prepared baking dish and spread it into an even layer. This helps the center and edges cook at the same pace.
Step 11: Bake Covered
Cover the dish with foil and bake for 25 minutes. The foil keeps the stuffing tender while it warms through.
Step 12: Finish Until Golden
Remove the foil and bake for 15 minutes, until the top is golden. Sprinkle with the chopped parsley before serving for a fresh, colorful finish.
Recipe Snapshot
| Feature | Details |
|---|---|
| Category/Course | Dinner, side dish |
| Cuisine | American |
| Prep Time | 20 minutes |
| Cook Time | 40 minutes |
| Extra Time | 0 minutes |
| Total Time | 1 hour |
| Dietary | No pork; vegetarian when made with vegetable broth |
| Serves | 8 |
| Best Served | Warm with gravy and your favorite holiday dishes. |
Pro Tips for Making Classic Stuffing Recipe
A 9×13 glass dish with a lid for casseroles you can bake, chill, and reheat. View on Amazon
- Use day-old bread so the cubes can absorb the broth without turning mushy.
- Cut the bread cubes close to the same size so they bake evenly.
- Add the broth gradually if your bread is especially soft, since it may need a little less moisture.
- For extra crisp edges, spread the stuffing in an even layer and uncover it for the final bake.
- Use vegetable broth for a vegetarian stuffing, or low-sodium chicken broth for a deeper savory flavor.
How to Serve Classic Stuffing Recipe
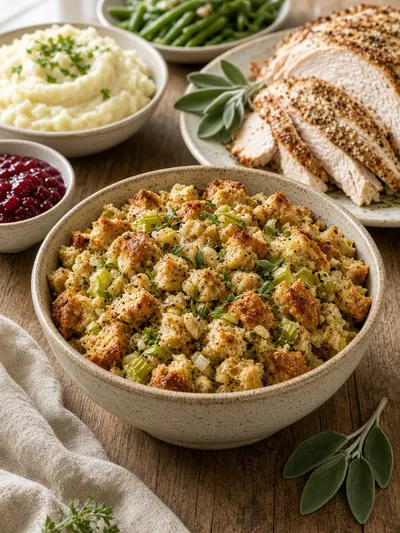
- Serve it warm beside roasted turkey or chicken with plenty of gravy.
- Add it to a holiday spread with mashed potatoes, green beans, and cranberry sauce.
- For more inspiration, browse these comforting Thanksgiving side dishes.
- Garnish each serving with a little extra chopped parsley for a fresh finish.
Make Ahead and Storage
Storing Leftovers
- Let the stuffing cool promptly, then place it in a covered container.
- Refrigerate leftovers within 2 hours and enjoy them within 3 to 4 days.
- Store gravy separately when possible so the stuffing keeps its pleasant texture.
Freezing
- Cool the stuffing completely before transferring it to a freezer-safe container.
- Freeze for up to 2 months for the best flavor and texture.
- Thaw it in the refrigerator overnight before reheating.
Reheating
- Place refrigerated stuffing in a covered baking dish and warm it in a 350°F oven until hot throughout.
- Add a small splash of broth before reheating if it seems dry.
- Uncover it for the last few minutes if you would like the top to crisp again.
- Heat leftovers until they reach 165°F in the center.
Explore more easy breakfast recipes, quick lunch ideas, cozy dinner meals, tasty snacks, and delightful dessert.
Final Thoughts
This classic stuffing recipe brings a little old-fashioned comfort to the table, with buttery herbs, tender vegetables, and golden bread in every warm spoonful.
FAQs
Here are a few helpful answers for making this cozy side dish just right.
Can I use fresh bread instead of day-old bread?
Day-old bread works best because it absorbs the broth while keeping its shape. If fresh bread is all you have, dry the cubes in a low oven until they feel slightly firm before using them.
Can I make this stuffing with vegetable broth?
Yes. Vegetable broth makes a flavorful vegetarian version. Choose a low-sodium broth so you can control the salt in the finished dish.
Can I prepare this classic stuffing recipe ahead of time?
Yes. Assemble it, cover it, and refrigerate it for up to 24 hours. Let the chilled dish sit briefly while the oven preheats, then bake until hot throughout.
Why is my stuffing dry?
Dry stuffing usually needs a little more broth or may have baked uncovered for too long. Add broth gradually next time, and keep the dish covered during the first part of baking.
Kitchen notes
Nutrition & sources
Calorie and nutrition figures on this page are estimates meant for general home-cooking guidance. Actual values vary with brands, portion size, and how the recipe is prepared.
Estimates draw on typical ingredient data from public nutrition databases such as the USDA FoodData Central. They are not a substitute for professional medical or dietary advice.
For how recipes are tested and when pages are updated, see How we test recipes. Full legal context lives in our disclaimers and affiliate disclosure.



Comments
Made this recipe? Share how it turned out for your family.
No comments yet — be the first to leave a note.