
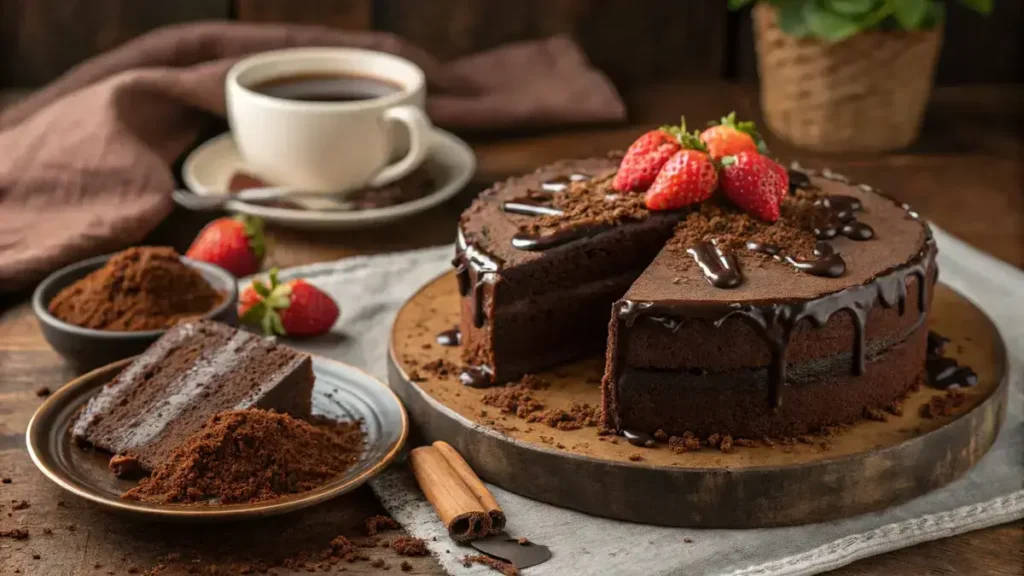
Chocolate Depression Cake is a vintage chocolate dessert made with simple pantry staples like flour, cocoa, and sugar, yet delivers a rich, moist, fudgy texture. A touch of coffee deepens the chocolate flavor, while vinegar and baking soda create a light, tender crumb without eggs or dairy. Easy, budget-friendly, and full of classic homemade taste, Chocolate Depression Cake is proof that simple ingredients can create an incredibly satisfying chocolate treat.
Table of Contents
Why You’ll Love This Chocolate Depression Cake
- It’s incredibly moist and rich, making every bite a chocolate lover’s dream.
- Budget-friendly ingredients mean you can whip it up without breaking the bank.
- No eggs or dairy needed, perfect for vegan friends or those with allergies.
- Simple to make, even for beginner bakers—just mix and bake!
- This vintage recipe carries a story, connecting you to the past with every slice.
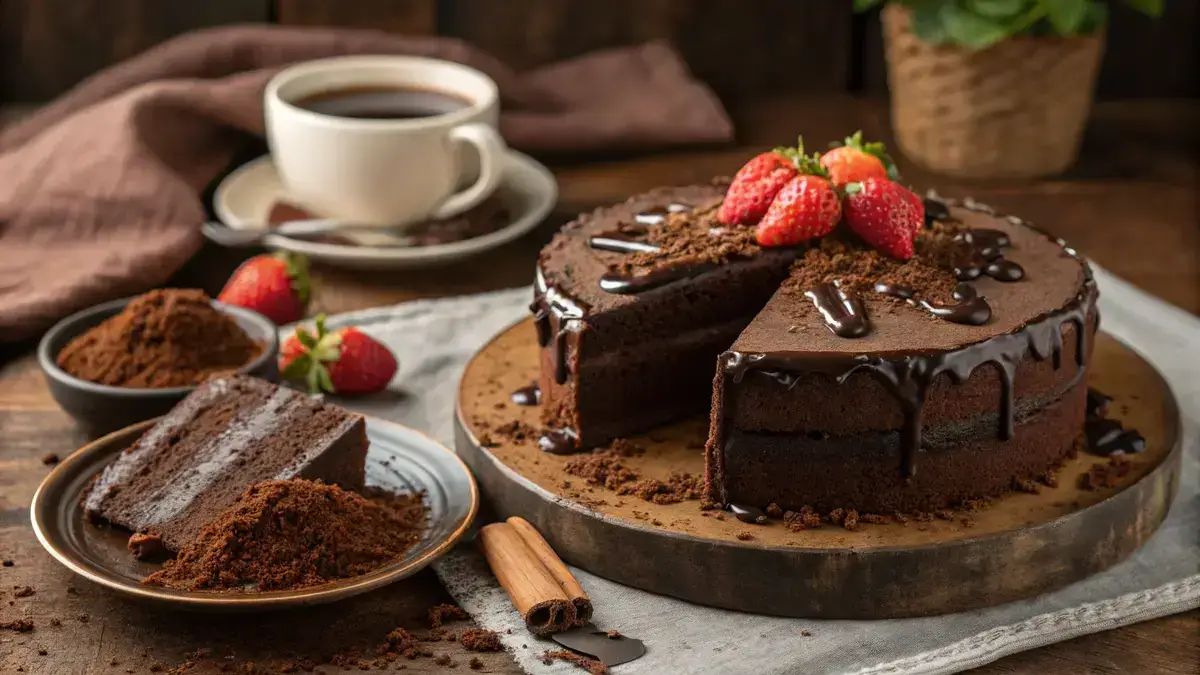
Chocolate Depression Cake
Ingredients
Equipment
Method
- Preheat your oven to 350°F (175°C).
- In a mixing bowl, whisk together the flour, granulated sugar, cocoa powder, baking soda, and salt.
- Add the milk, vegetable oil, and vanilla extract to the dry ingredients and stir until just combined. Do not overmix.
- Pour the batter into a greased 8×8-inch baking dish, spreading it evenly.
- In a small bowl, combine the topping cocoa powder and brown sugar. Sprinkle this mixture evenly over the batter.
- Carefully pour the boiling water over the back of a spoon to distribute it evenly over the top.
- Bake for 30–35 minutes, or until the cake is set and the top is firm but the sauce beneath is bubbling.
- Let the cake rest for 10 minutes before serving so the sauce thickens slightly.
- Serve warm, spooning the chocolate sauce over each slice.
Notes
| Nutrient | Amount per Serving |
|---|---|
| Calories | 200 |
| Fat | 7g |
| Protein | 2g |
| Carbs | 32g |
Ingredients
Gather these simple ingredients to make your delightful Chocolate Depression Cake!
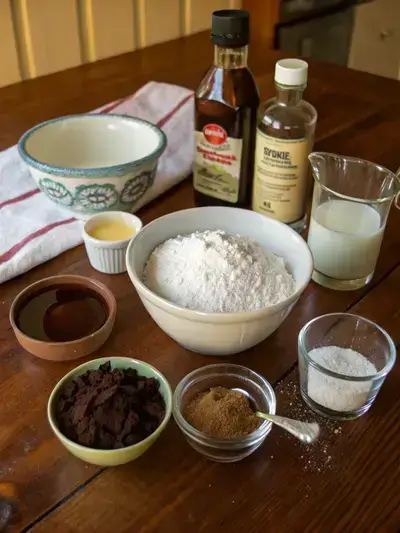
- 1 cup all-purpose flour – for the cake base
- 1 cup granulated sugar – adds sweetness
- 2 tablespoons unsweetened cocoa powder – for rich chocolate flavor
- 1 teaspoon baking soda – helps the cake rise
- ½ teaspoon salt – enhances flavor
- 1 cup milk – keeps the cake moist
- 2 tablespoons vegetable oil – adds moisture
- 1 teaspoon vanilla extract – for a hint of sweetness
- 2 tablespoons unsweetened cocoa powder (for topping) – for added chocolatey goodness
- ½ cup packed brown sugar (for topping) – caramel notes for topping
- 1 cup boiling water – helps to create a light texture
How to Make Chocolate Depression Cake
This delightful Chocolate Depression Cake is not only easy to make but also budget-friendly. With a preparation time of about 10 minutes and a cooking time of 30–35 minutes, you’ll have a warm, gooey dessert ready to enjoy. Don’t forget to let it rest for 10 minutes to thicken the sauce!
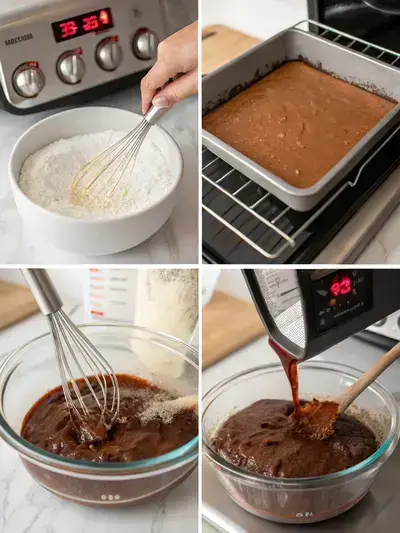
Step 1: Preheat the Oven
Preheat your oven to 350°F (175°C).
Step 2: Mix Dry Ingredients
In a mixing bowl, whisk together the flour, granulated sugar, cocoa powder, baking soda, and salt.
Step 3: Combine Wet Ingredients
Add the milk, vegetable oil, and vanilla extract to the dry ingredients and stir until just combined. Do not overmix.
Step 4: Prepare the Baking Dish
Pour the batter into a greased 8×8-inch baking dish, spreading it evenly.
Step 5: Add Topping
In a small bowl, combine the topping cocoa powder and brown sugar. Sprinkle this mixture evenly over the batter.
Step 6: Pour Boiling Water
Carefully pour the boiling water over the back of a spoon to distribute it evenly over the top.
Step 7: Bake the Cake
Bake for 30–35 minutes, or until the cake is set and the top is firm but the sauce beneath is bubbling.
Step 8: Let it Rest
Let the cake rest for 10 minutes before serving so the sauce thickens slightly.
Step 9: Serve and Enjoy
Serve warm, spooning the chocolate sauce over each slice.
Recipe Snapshot
| Feature | Details |
|---|---|
| Category | Dessert |
| Cuisine | American |
| Prep Time | 10 minutes |
| Cook Time | 35 minutes |
| Extra Time | 10 minutes (resting) |
| Total Time | 55 minutes |
| Dietary | Vegetarian |
| Serves | 8 |
| Best Served | Warm with chocolate sauce |
Pro Tips for Making Chocolate Depression Cake
- Use unsweetened applesauce as a substitute for oil for a moist texture.
- Mix the dry ingredients well to avoid clumps in your batter.
- Let the cake cool completely before frosting for a smoother finish.
- Experiment with adding a pinch of cinnamon for a warm flavor twist.
How to Serve this Chocolate Depression Cake
- Dust with powdered sugar for a simple, elegant touch.
- Serve warm with a scoop of vanilla ice cream on top.
- Pair with fresh berries for a burst of color and flavor.
- Drizzle with chocolate syrup or caramel for extra indulgence.
- Enjoy with a dollop of whipped coconut cream for a dairy-free option.
- Slice and serve with a cup of hot coffee or tea for a cozy treat.
Make Ahead and Storage
You can make this cake ahead and store it easily:
Storing Chocolate Depression Cake Leftovers
- Allow the cake to cool completely.
- Wrap it tightly in plastic wrap or aluminum foil.
- Store in an airtight container at room temperature for up to 3 days.
- For longer storage, refrigerate for up to a week.
Freezing Chocolate Depression Cake
- Wrap the cooled cake in plastic wrap, then in aluminum foil.
- Label with the date and type of cake.
- Freeze for up to 3 months for best quality.
- Thaw in the refrigerator overnight before serving.
Reheating Chocolate Depression Cake
- Preheat your oven to 350°F (175°C).
- Place the cake on a baking sheet.
- Cover loosely with aluminum foil to prevent drying out.
- Heat for about 10-15 minutes or until warmed through.
Explore more easy breakfast recipes, quick lunch ideas, cozy dinner meals, tasty snacks, and delightful dessert.
FAQs
Here’s a helpful FAQ about this recipe:
1. What is Chocolate Depression Cake?
Chocolate Depression Cake is a simple, moist cake made without eggs or dairy, making it a great option for those with dietary restrictions. It typically includes basic pantry ingredients like flour, cocoa powder, sugar, and vinegar, resulting in a rich chocolate flavor that’s both satisfying and nostalgic.
2. How do I make Chocolate Depression Cake with ingredients I already have on hand?
You can easily make Chocolate Depression Cake using common ingredients like flour, sugar, cocoa powder, baking soda, vinegar, and vegetable oil. If you don’t have cocoa powder, you can substitute it with carob powder for a different flavor. Just mix the dry ingredients, add the wet ones, and bake for a delicious treat!
3. Why is this cake called a Depression Cake?
This cake is called a Depression Cake because it originated during the Great Depression when ingredients were scarce and expensive. People had to get creative with what they had, leading to this eggless and dairy-free recipe that was both economical and delicious, allowing families to enjoy a sweet treat without breaking the bank.
4. Can I customize Chocolate Depression Cake with add-ins like nuts or chocolate chips?
Absolutely! You can customize your Chocolate Depression Cake by adding nuts, chocolate chips, or even dried fruits to the batter. Just fold in your desired add-ins before baking to enhance the flavor and texture of the cake. It’s a great way to make it your own!
Final Thoughts
There you have it, a delightful Chocolate Depression Cake that’s as easy as it is delicious! This vintage gem is perfect for any occasion, and you’ll love how simple it is to whip up. So grab your ingredients, channel your inner baker, and enjoy every moist, chocolatey bite. Happy baking!