


Recipe card
Print / PDFHomemade Chicken Tenders
Rate this recipe
Be the first to rate
- Prep Time
- 15 mins
- Cook Time
- 8 mins
- Total Time
- 23 mins
Ingredients
- 1 lb chicken tenders (fresh or thawed)
- 1 cup all-purpose flour (for coating)
- 2 pcs eggs (beaten)
- 1 cup breadcrumbs (for crunchiness)
- 1 tsp salt (to enhance flavor)
- 1/2 tsp black pepper (for a hint of spice)
- 1 tsp paprika (adds color and flavor)
- 1/2 tsp garlic powder (for extra zest)
- as needed cooking oil for frying (use as needed)
Equipment
- 1 Skillet — For frying the chicken tenders.
- 3 Bowls — For dredging station (flour, eggs, breadcrumbs).
Method
- 1
1. Season your chicken tenders with salt, pepper, paprika, and garlic powder. Make sure they’re evenly coated for maximum flavor!
- 2
2. Set up your dredging station! Place flour in one bowl, beaten eggs in a second bowl, and breadcrumbs in a third bowl. This will make the coating process a breeze.
- 3
3. Dredge each tender in flour, dip it in the eggs, and then coat it with breadcrumbs. Make sure each piece is well-covered for that perfect crunch!
- 4
4. Heat oil in a skillet over medium-high heat. You want it hot enough to fry but not so hot that it smokes!
- 5
5. Fry the tenders for 3-4 minutes on each side until they’re golden brown and cooked through. Keep an eye on them; you want them crispy!
- 6
6. Drain the cooked tenders on paper towels to remove excess oil. Serve them hot and enjoy your delicious homemade chicken tenders!
Notes
| Nutrient | Amount per Serving |
|---|---|
| Calories | 300 |
| Fat | 15g |
| Protein | 25g |
| Carbs | 30g |
Why You’ll Love This chicken tenders
- Perfectly crispy outside, tender inside—just like your favorite restaurant!
- Easy to make with simple ingredients you probably already have.
- Customizable with your favorite spices and dips for a personal touch.
- Healthier than fried options, baked to perfection without sacrificing flavor.
- Great for meal prep—enjoy them throughout the week!
Ingredients
Gather these delicious ingredients to make the perfect chicken tenders!
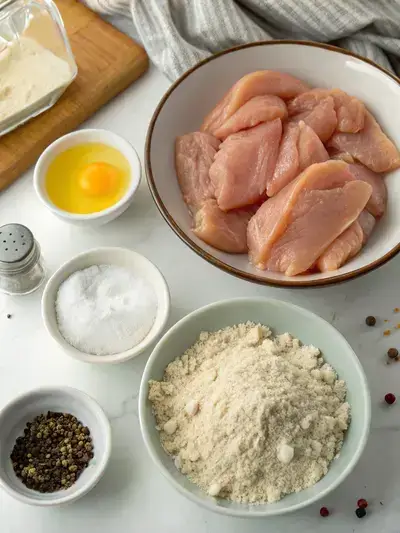
- 1 lb chicken tenders – fresh or thawed
- 1 cup all-purpose flour – for coating
- 2 eggs – beaten
- 1 cup breadcrumbs – for crunchiness
- 1 tsp salt – to enhance flavor
- 1/2 tsp black pepper – for a hint of spice
- 1 tsp paprika – adds color and flavor
- 1/2 tsp garlic powder – for extra zest
- cooking oil for frying – use as needed
How to Make Chicken Tenders
Get ready to enjoy some crispy homemade tenders! With a preparation time of about 15 minutes and a cooking time of 8 minutes, you’ll have these delicious bites ready in no time. Let’s dive into the fun!
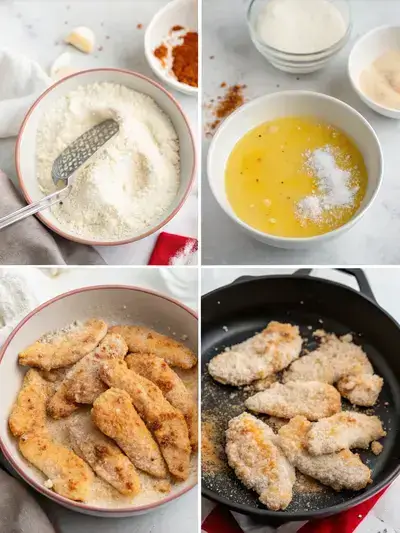
1. Step
Season your chicken tenders with salt, pepper, paprika, and garlic powder. Make sure they’re evenly coated for maximum flavor!
2. Step
Set up your dredging station! Place flour in one bowl, beaten eggs in a second bowl, and breadcrumbs in a third bowl. This will make the coating process a breeze.
3. Step
Dredge each tender in flour, dip it in the eggs, and then coat it with breadcrumbs. Make sure each piece is well-covered for that perfect crunch!
4. Step
Heat oil in a skillet over medium-high heat. You want it hot enough to fry but not so hot that it smokes!
5. Step
Fry the tenders for 3-4 minutes on each side until they’re golden brown and cooked through. Keep an eye on them; you want them crispy!
6. Step
Drain the cooked tenders on paper towels to remove excess oil. Serve them hot and enjoy your delicious homemade chicken tenders!
Recipe Snapshot
| Feature | Details |
|---|---|
| Category | Snacks |
| Cuisine | American |
| Prep Time | 15 minutes |
| Cook Time | 8 minutes |
| Extra Time | 0 minutes |
| Total Time | 23 minutes |
| Dietary | Not specified |
| Serves | 4 |
| Best Served | Hot and crispy! |
Pro Tips for Making Chicken Tenders
- Marinate the chicken for at least 30 minutes for extra flavor.
- Use panko breadcrumbs for an extra crispy texture.
- Don’t overcrowd the baking sheet to ensure even cooking.
- Spray the tenders lightly with cooking oil for a golden finish.
- Let them rest for a few minutes after baking for juiciness.
How to Serve this chicken tenders
- Serve with a side of crispy sweet potato fries for a fun twist.
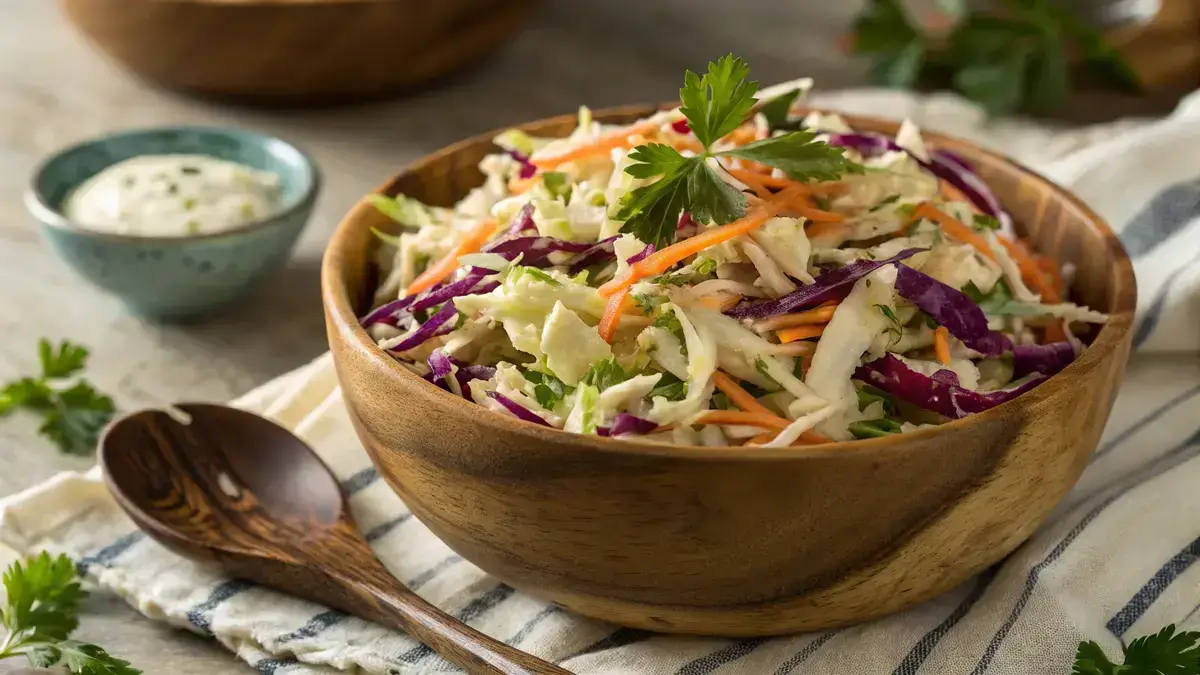
- Pair with a fresh garden salad drizzled with a tangy vinaigrette.
- Dip in homemade honey mustard or barbecue sauce for extra flavor.
- Wrap in a tortilla with lettuce, tomatoes, and avocado for a tasty chicken wrap.
- Top with shredded cheese and jalapeños for a spicy nacho-style treat.
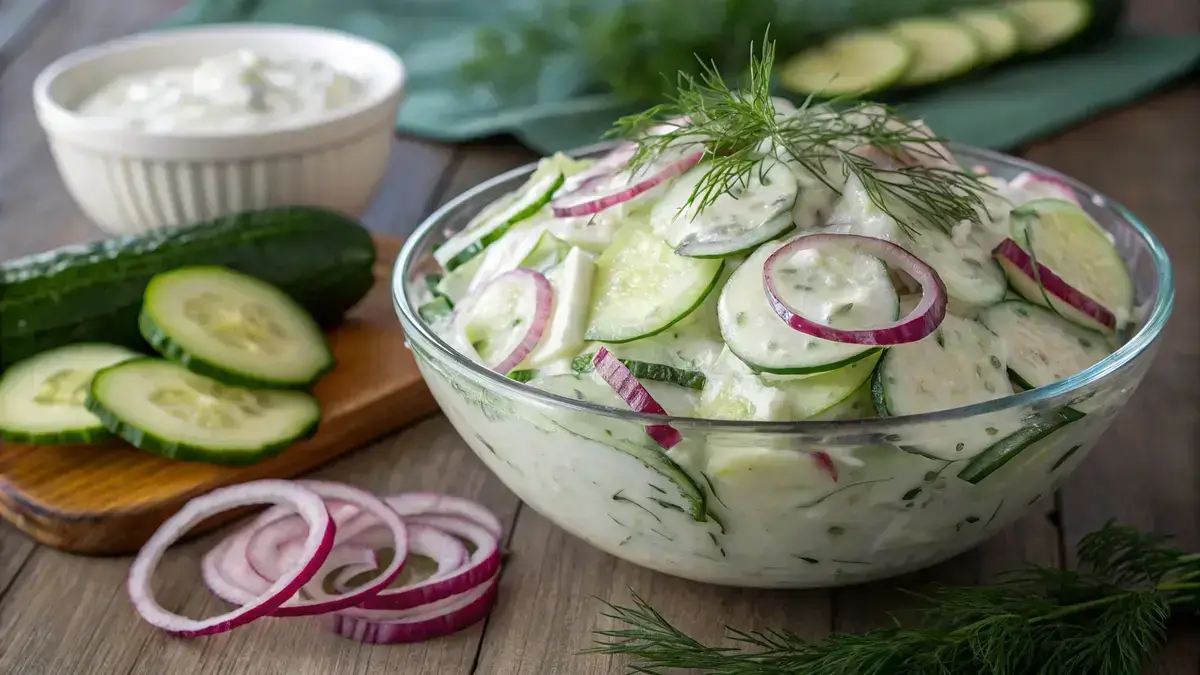
- Enjoy alongside creamy mashed potatoes and steamed veggies for a comforting meal.
Make Ahead and Storage
Here’s how to keep your chicken tenders fresh and delicious:
Storing Leftovers
- Allow chicken tenders to cool completely.
- Place them in an airtight container.
- Store in the refrigerator for up to 3 days.
Freezing
- Wrap each tender in plastic wrap or foil.
- Place wrapped tenders in a freezer-safe bag.
- Label with the date and freeze for up to 3 months.
Reheating
- Preheat your oven to 375°F (190°C).
- Place tenders on a baking sheet lined with parchment paper.
- Reheat for about 10-15 minutes until heated through.
- For extra crispiness, broil for the last 2 minutes.
Explore more easy breakfast recipes, quick lunch ideas, cozy dinner meals, tasty snacks, and delightful dessert.
Final Thoughts
There you have it—crispy, golden chicken tenders that are sure to bring a smile to your face! This easy oven-baked recipe is perfect for a cozy family dinner or a fun gathering with friends. So roll up your sleeves, get cooking, and enjoy every delicious bite. You’ll be amazed at how simple and rewarding it is!
Quick answers
Frequently asked questions
Straight answers from the kitchen — storage, swaps, and common sticking points for this recipe.
How is the best way to cook chicken tenders?
What exactly are chicken tenders?
Is it better to bake or fry chicken tenders?
What is the difference between chicken tenders and chicken strips?
Kitchen notes
Nutrition & sources
Calorie and nutrition figures on this page are estimates meant for general home-cooking guidance. Actual values vary with brands, portion size, and how the recipe is prepared.
Estimates draw on typical ingredient data from public nutrition databases such as the USDA FoodData Central. They are not a substitute for professional medical or dietary advice.
For how recipes are tested and when pages are updated, see How we test recipes. Full legal context lives in our disclaimers and affiliate disclosure.
Comments
Made this recipe? Share how it turned out for your family.
No comments yet — be the first to leave a note.