
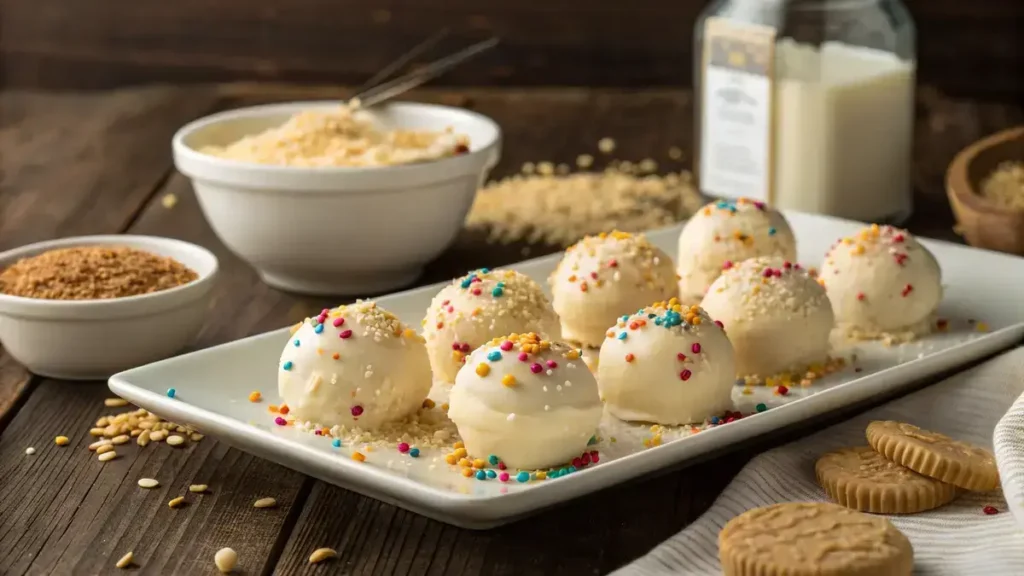
Cheesecake balls are bite-sized, no-bake treats made with creamy cream cheese, graham cracker crumbs, and a touch of vanilla for classic cheesecake flavor. Rolled into small spheres and dipped in chocolate or coated with toppings, they offer the perfect mix of smooth, sweet, and crunchy textures. Easy to prepare and great for parties, gifts, or quick desserts, cheesecake balls are a fun, crowd-pleasing indulgence.
Table of Contents
Why You’ll Love This cheesecake balls
- They’re a delightful no-bake treat that saves you time.
- Each bite is a creamy explosion of cheesecake goodness.
- Perfect for parties or a sweet snack anytime!
- Customizable with your favorite toppings and flavors.
- Kid-friendly and fun to make together!
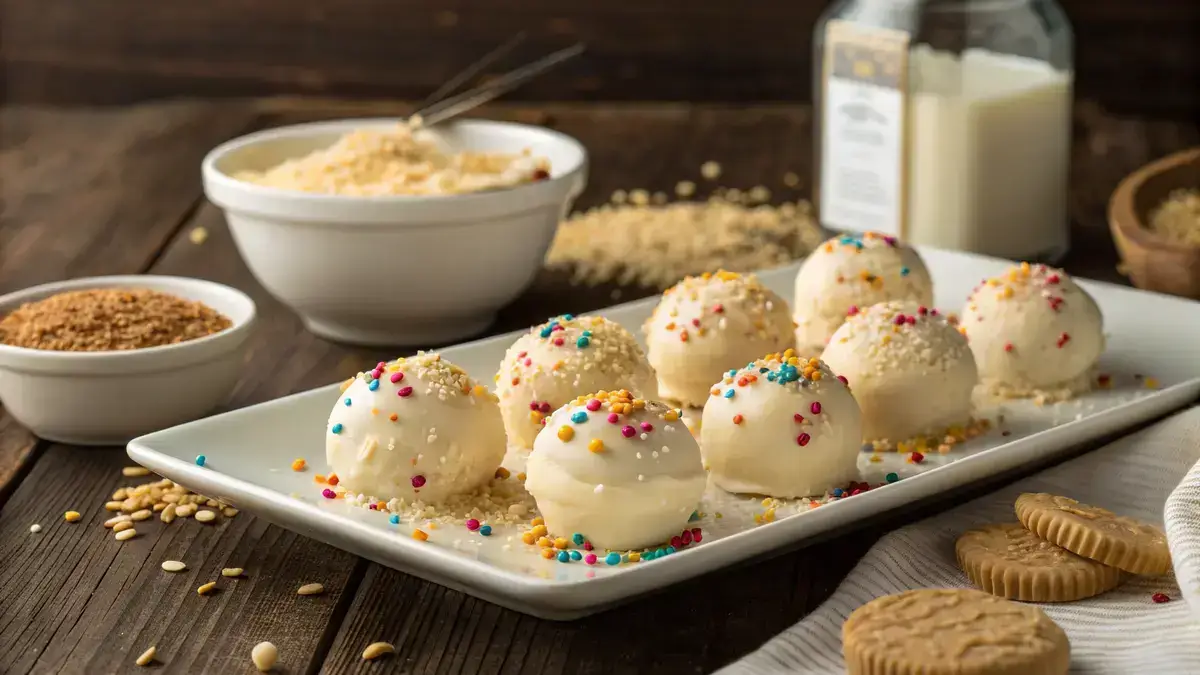
cheesecake balls
Ingredients
Equipment
Method
- Step 1: In a bowl, beat softened cream cheese until smooth. Make sure there are no lumps for that creamy texture!
- Step 2: Stir in graham cracker crumbs, powdered sugar, and vanilla extract until everything is well combined. This is where the magic happens!
- Step 3: Roll the mixture into 1-inch balls and place them on a baking sheet lined with parchment paper. Get your hands a little messy; it’s part of the fun!
- Step 4: Freeze the balls for 15 minutes. This helps them hold their shape when you dip them in chocolate.
- Step 5: Melt white chocolate in a microwave-safe bowl, stirring every 30 seconds until smooth. Be patient; it’s worth it!
- Step 6: Dip each ball into the melted chocolate, letting the excess drip off. Make sure they’re well-coated for that delicious finish!
- Step 7: Place the dipped balls back on the parchment and immediately add sprinkles or crushed nuts. Get creative with your toppings!
- Step 8: Chill the cheesecake balls until the chocolate is set. This usually takes about 15 minutes.
- Step 9: Once set, serve your delightful cheesecake balls and enjoy every creamy bite!
Notes
| Nutrient | Amount per Serving |
|---|---|
| Calories | 150 |
| Fat | 9g |
| Protein | 2g |
| Carbs | 16g |
| Sugar | 10g |
Ingredients
Here’s everything you need to make delightful cheesecake balls!
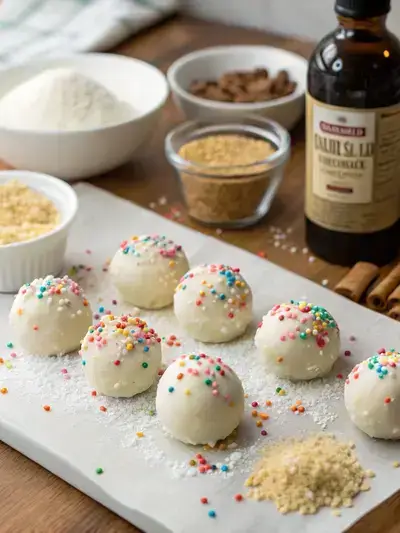
- 8 oz cream cheese – softened
- 1 cup graham cracker crumbs – for that classic cheesecake crunch
- 1/4 cup powdered sugar – adds sweetness
- 1 tsp vanilla extract – for flavor
- 8 oz white chocolate – for coating
- sprinkles or crushed nuts – optional for decoration
How to Make cheesecake balls
Get ready to whip up some delightful cheesecake balls! This no-bake treat is perfect for any occasion. With a preparation time of just 15 minutes and a chilling time of 30 minutes, you’ll have these creamy bites ready to enjoy in no time!
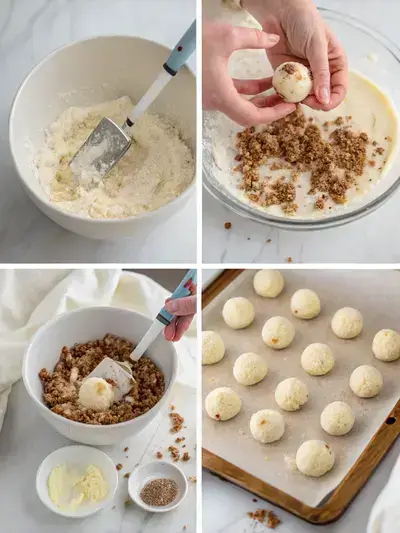
Step 1: Beat the Cream Cheese
In a bowl, beat softened cream cheese until smooth. Make sure there are no lumps for that creamy texture!
Step 2: Mix in the Goodies
Stir in graham cracker crumbs, powdered sugar, and vanilla extract until everything is well combined. This is where the magic happens!
Step 3: Roll into Balls
Roll the mixture into 1-inch balls and place them on a baking sheet lined with parchment paper. Get your hands a little messy; it’s part of the fun!
Step 4: Freeze the Balls
Freeze the balls for 15 minutes. This helps them hold their shape when you dip them in chocolate.
Step 5: Melt the Chocolate
Melt white chocolate in a microwave-safe bowl, stirring every 30 seconds until smooth. Be patient; it’s worth it!
Step 6: Dip the Balls
Dip each ball into the melted chocolate, letting the excess drip off. Make sure they’re well-coated for that delicious finish!
Step 7: Add Toppings
Place the dipped balls back on the parchment and immediately add sprinkles or crushed nuts. Get creative with your toppings!
Step 8: Chill Until Set
Chill the cheesecake balls until the chocolate is set. This usually takes about 15 minutes.
Step 9: Serve and Enjoy!
Once set, serve your delightful cheesecake balls and enjoy every creamy bite!
Recipe Snapshot
| Feature | Details |
|---|---|
| Category | Dessert |
| Cuisine | American |
| Prep Time | 15 minutes |
| Cook Time | 0 minutes |
| Extra Time | 30 minutes (chilling) |
| Total Time | 45 minutes |
| Dietary | Vegetarian |
| Serves | 12 |
| Best Served | Chilled and ready to enjoy! |
Pro Tips for Making cheesecake balls
- Chill your cream cheese for easier mixing.
- Use a cookie scoop for uniform ball sizes.
- Roll in crushed graham crackers for added texture.
- Experiment with different flavor extracts for variety.
- Keep them refrigerated until serving for the best taste.
How to Serve this cheesecake balls
- Roll in crushed graham crackers for a classic touch.
- Drizzle with chocolate or caramel sauce for extra sweetness.
- Serve on a platter with fresh berries for a pop of color.
- Pair with a dollop of whipped cream for added creaminess.
- Dust with powdered sugar for a fancy finish.
- Enjoy with a cup of coffee or tea for a delightful treat.
Make Ahead and Storage
You can prepare and store cheesecake balls for later enjoyment:
Storing Leftovers
- Place leftovers in an airtight container.
- Refrigerate for up to 5 days.
- Keep them separated with parchment paper if stacked.
Freezing
- Flash freeze cheesecake balls on a baking sheet for 1-2 hours.
- Transfer to a freezer-safe container or bag.
- Label with the date and freeze for up to 3 months.
Reheating
- Thaw in the refrigerator overnight before serving.
- For a warm treat, microwave for 10-15 seconds.
- Enjoy chilled or at room temperature for best flavor.
Explore more easy breakfast recipes, quick lunch ideas, cozy dinner meals, tasty snacks, and delightful dessert.
FAQs
Here’s a helpful FAQ about this recipe:
1. What is the best cheese for a cheese ball?
The best cheese for cheesecake balls is cream cheese, as it provides a rich and creamy texture that is essential for this dessert. You can also mix in some mascarpone or ricotta for added creaminess and flavor. Just make sure the cheese is softened to room temperature for easy mixing!
2. How long do cheesecake balls last in the fridge?
Cheesecake balls can last in the fridge for about 5 to 7 days when stored in an airtight container. Just make sure to keep them chilled, and they’ll be ready for you to enjoy whenever you crave a sweet treat!
3. What equipment do I need to make cheesecake balls?
To make cheesecake balls, you’ll need a mixing bowl, a hand mixer or stand mixer for blending the ingredients, a cookie scoop or spoon for portioning, and a baking sheet lined with parchment paper for chilling the balls. If you plan to coat them in chocolate, having a microwave-safe bowl for melting the chocolate is also essential!
4. How to coat cheesecake balls with chocolate?
To coat cheesecake balls with chocolate, first melt your chocolate in a microwave-safe bowl or using a double boiler until smooth. Then, using a fork or toothpick, dip each cheesecake ball into the melted chocolate, allowing any excess to drip off. Place the coated balls back on the parchment-lined baking sheet and let them set in the fridge until the chocolate hardens. Enjoy your deliciously coated treats!
Final Thoughts
These cheesecake balls are not just a treat; they’re a delightful journey back to sweet memories! With their creamy texture and playful bite-sized form, they’re perfect for sharing or savoring all by yourself. So, roll up your sleeves and whip up this easy no-bake recipe. You’ll be rewarded with smiles and satisfied taste buds!