

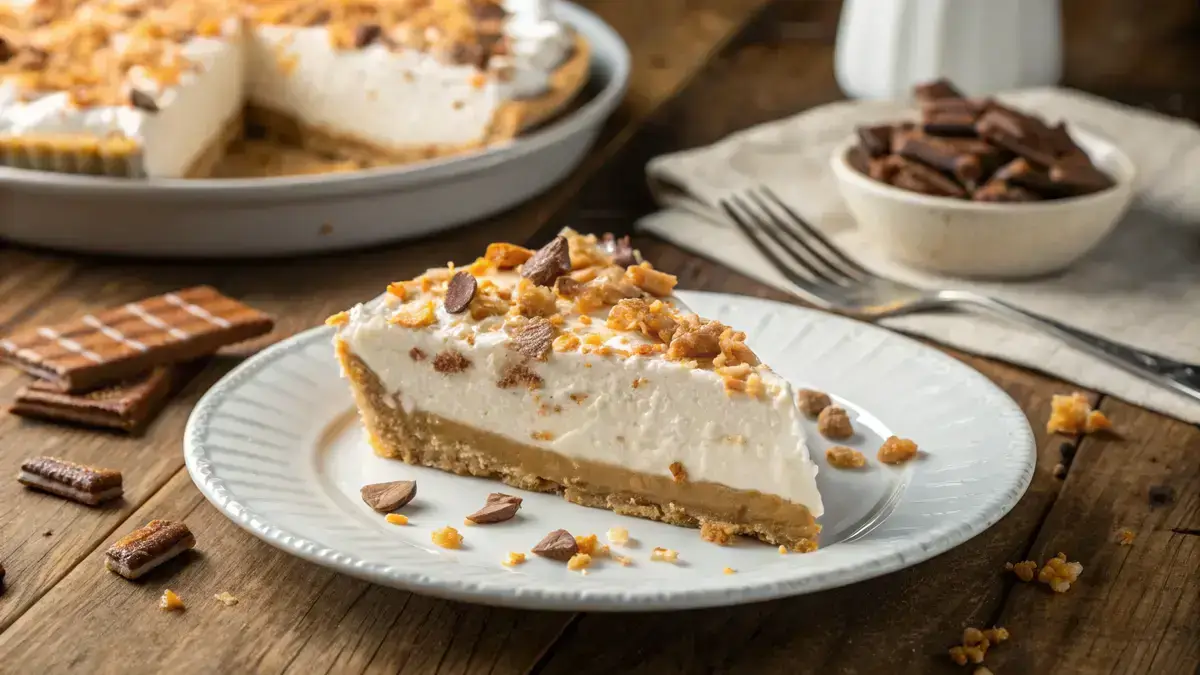
Recipe card
Print / PDFButterfinger Pie
Rate this recipe
Be the first to rate
- Prep Time
- 15 mins
- refrigerating
- 4 hrs
- Total Time
- 4 hrs 15 mins
Ingredients
- 1 9-inch prepared graham cracker crust (for the base of the pie)
- 1 8 oz cream cheese (softened for a creamy texture)
- 1 cup powdered sugar (to sweeten)
- 1 teaspoon vanilla extract (for added flavor)
- 1.5 cups whipped topping (lightens up the filling)
- 4 bars Butterfinger candy bars (chopped and divided for that signature crunch)
Equipment
- 1 Mixing bowl — For mixing the filling.
- 1 Spatula — For folding in ingredients.
- 1 Refrigerator — For chilling the pie.
Method
- 1
In a mixing bowl, beat the softened cream cheese until smooth. Make sure there are no lumps for a creamy texture.
- 2
Add powdered sugar and vanilla extract, continuing to beat until fully combined. This will add sweetness and flavor to your pie.
- 3
Gently fold in half of the whipped topping and half of the chopped Butterfinger pieces. This adds a light and fluffy texture.
- 4
Spoon the mixture into the prepared graham cracker crust, smoothing the top. Make it look nice and even!
- 5
Spread the remaining whipped topping over the filling. This adds a lovely creamy layer on top.
- 6
Sprinkle the remaining chopped Butterfinger bars on top. This gives a crunchy finish to your pie.
- 7
Refrigerate for at least 4 hours or until firm. This is the hardest part—waiting!
- 8
Slice and serve chilled. Enjoy your deliciously sweet and crunchy BUTTERFINGER PIE!
Notes
| Nutrient | Amount per Serving |
|---|---|
| Calories | 300 |
| Fat | 20g |
| Protein | 3g |
| Carbs | 30g |
Why You’ll Love This BUTTERFINGER PIE
- Decadent layers of creamy peanut butter and chocolate.
- Quick and easy to whip up for any occasion.
- Perfectly satisfies your sweet tooth cravings.
- Impressive dessert that will wow your guests.
Ingredients
Gather these delicious ingredients to create a mouthwatering Butterfinger Pie!
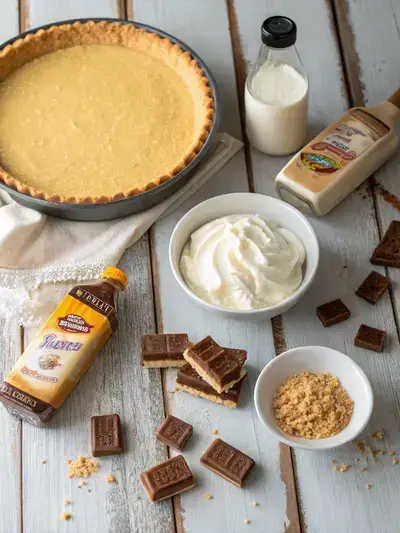
- 1 (9-inch) prepared graham cracker crust – for the base of the pie
- 1 (8 oz) package cream cheese – softened for a creamy texture
- 1 cup powdered sugar – to sweeten
- 1 teaspoon vanilla extract – for added flavor
- 1 ½ cups whipped topping – lightens up the filling
- 4 Butterfinger candy bars – chopped and divided for that signature crunch
How to Make BUTTERFINGER PIE
Get ready to indulge in a delightful treat! This BUTTERFINGER PIE is a no-bake dessert that combines creamy goodness with crunchy Butterfinger pieces. The preparation time is about 15 minutes, and it needs to chill for at least 4 hours to set perfectly. No cooking is required, just some mixing and chilling!
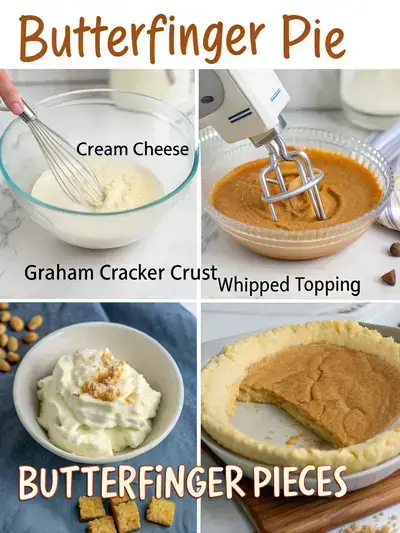
Step 1: Beat the Cream Cheese
In a mixing bowl, beat the softened cream cheese until smooth. Make sure there are no lumps for a creamy texture.
Step 2: Add Sugar and Vanilla
Add powdered sugar and vanilla extract, continuing to beat until fully combined. This will add sweetness and flavor to your pie.
Step 3: Fold in Toppings
Gently fold in half of the whipped topping and half of the chopped Butterfinger pieces. This adds a light and fluffy texture.
Step 4: Spoon into Crust
Spoon the mixture into the prepared graham cracker crust, smoothing the top. Make it look nice and even!
Step 5: Add Whipped Topping
Spread the remaining whipped topping over the filling. This adds a lovely creamy layer on top.
Step 6: Sprinkle Butterfinger
Sprinkle the remaining chopped Butterfinger bars on top. This gives a crunchy finish to your pie.
Step 7: Refrigerate
Refrigerate for at least 4 hours or until firm. This is the hardest part—waiting!
Step 8: Slice and Serve
Slice and serve chilled. Enjoy your deliciously sweet and crunchy BUTTERFINGER PIE!
Recipe Snapshot
| Feature | Details |
|---|---|
| Category | Dessert |
| Cuisine | American |
| Prep Time | 15 minutes |
| Cook Time | 0 minutes |
| Extra Time | 240 minutes (Refrigerating) |
| Total Time | 255 minutes |
| Dietary | Vegetarian |
| Serves | 8 |
| Best Served | Chilled |
Pro Tips for Making BUTTERFINGER PIE
- Chill your mixing bowl and beaters for fluffier whipped cream.
- Crush the Butterfinger bars finely for a smoother texture.
- Let the pie set in the fridge overnight for the best flavor.
- Top with extra Butterfinger pieces for a delightful crunch.
How to Serve this BUTTERFINGER PIE
- Top with whipped cream for extra creaminess.
- Sprinkle crushed Butterfinger candies on top for a crunchy finish.
- Serve with a scoop of vanilla ice cream for a delightful contrast.
- Pair with a glass of cold milk or a creamy almond milkshake.
- Garnish with chocolate syrup for a decadent touch.
- Enjoy with fresh fruit like strawberries or bananas for a refreshing balance.
Make Ahead and Storage
You can prepare and store your Butterfinger Pie with ease:
Storing BUTTERFINGER PIE Leftovers
- Cover the pie with plastic wrap or aluminum foil.
- Store in the refrigerator for up to 3 days.
- Keep it in an airtight container for best freshness.
Freezing BUTTERFINGER PIE
- Wrap the pie tightly in plastic wrap.
- Then, wrap it in aluminum foil for extra protection.
- Freeze for up to 2 months for best quality.
Reheating BUTTERFINGER PIE
- Thaw the pie in the refrigerator overnight.
- For a warm slice, microwave for 10-15 seconds.
- Enjoy it chilled or at room temperature for best flavor.
Explore more easy breakfast recipes, quick lunch ideas, cozy dinner meals, tasty snacks, and delightful dessert.
Final Thoughts
Now that you have the recipe for this delightful Butterfinger Pie, it’s time to gather your loved ones and indulge in a slice (or two!). This treat is not only simple to make but also brings back sweet memories with every bite. Enjoy the creamy, crunchy goodness and let the nostalgia take over—happy baking!
Quick answers
Frequently asked questions
Straight answers from the kitchen — storage, swaps, and common sticking points for this recipe.
Why was Butterfinger discontinued?
What is the backlash of the new Butterfinger?
What is the middle of a Butterfinger?
What is American crack pie?
Kitchen notes
Nutrition & sources
Calorie and nutrition figures on this page are estimates meant for general home-cooking guidance. Actual values vary with brands, portion size, and how the recipe is prepared.
Estimates draw on typical ingredient data from public nutrition databases such as the USDA FoodData Central. They are not a substitute for professional medical or dietary advice.
For how recipes are tested and when pages are updated, see How we test recipes. Full legal context lives in our disclaimers and affiliate disclosure.


Comments
Made this recipe? Share how it turned out for your family.
No comments yet — be the first to leave a note.