

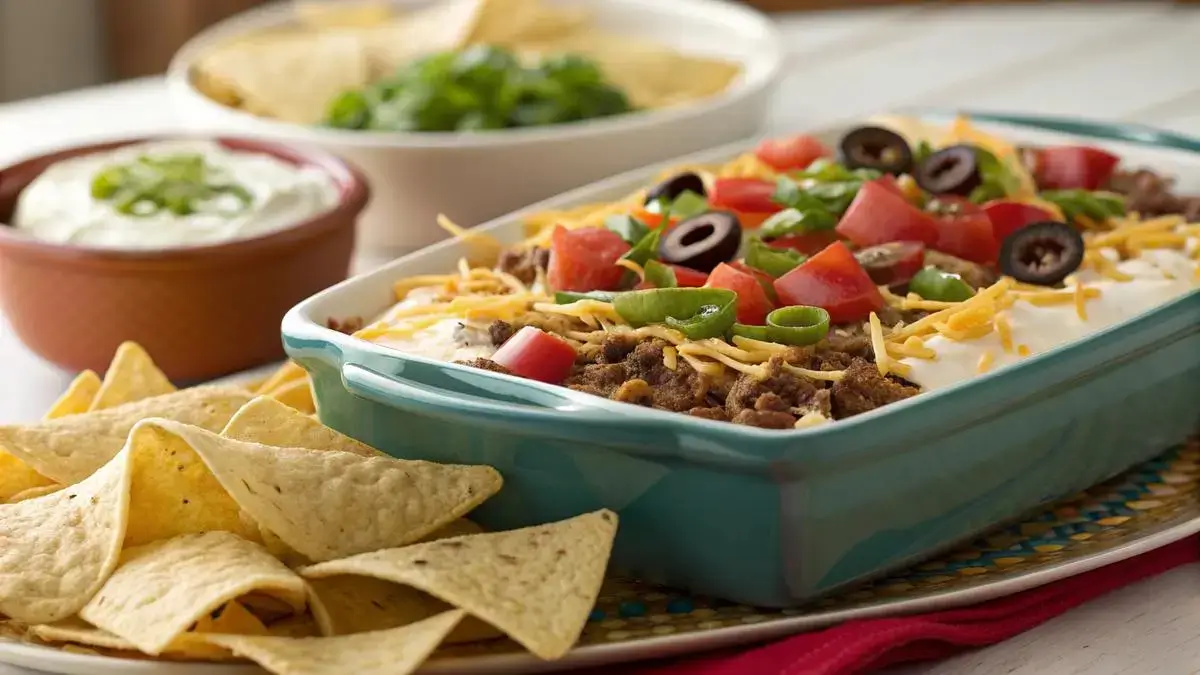
Recipe card
Print / PDFbaked taco dip
Rate this recipe
Be the first to rate
- Prep Time
- 10 mins
- Cook Time
- 25 mins
- resting
- 5 mins
- Total Time
- 40 mins
Ingredients
- 1 package (8 oz) Cream cheese (softened)
- 1 cup Sour cream
- 1 packet (1 oz) Taco seasoning
- 1 cup Shredded cheddar cheese
- 1 cup Shredded Monterey Jack cheese
- 1 can (10 oz) Diced tomatoes with green chilies (drained)
- 1/2 cup Sliced black olives
- 1/4 cup Chopped green onions
- to taste Tortilla chips (for serving)
Equipment
- 1 Medium Bowl — for mixing ingredients
- 1 small baking dish — for baking the dip
Method
- 1
Step 1: Preheat the Oven – Start by preheating your oven to 350°F (175°C). This will ensure your dip bakes evenly and gets that perfect bubbly texture.
- 2
Step 2: Mix the Base – In a medium bowl, beat together the softened cream cheese, sour cream, and taco seasoning until smooth and well combined. This creamy base is the heart of your dip!
- 3
Step 3: Spread the Mixture – Spread the creamy mixture evenly into a small baking dish. Make sure it’s nice and even for the best results.
- 4
Step 4: Add the Cheeses – Sprinkle half of the shredded cheddar and Monterey Jack cheeses over the cream cheese layer. This will add a delicious cheesy goodness!
- 5
Step 5: Layer the Toppings – Top with the drained diced tomatoes with green chilies, sliced black olives, and chopped green onions. These toppings add flavor and color!
- 6
Step 6: Finish with More Cheese – Finish by adding the remaining shredded cheeses on top. Who doesn’t love extra cheese?
- 7
Step 7: Bake the Dip – Place the baking dish in the oven and bake for 20–25 minutes, or until the dip is bubbly and the cheese is melted and lightly golden. Your kitchen will smell amazing!
- 8
Step 8: Let it Rest – Remove from the oven and let the dip rest for 5 minutes before serving. This helps it set a bit and makes it easier to scoop.
- 9
Step 9: Serve and Enjoy! – Serve warm with tortilla chips. Dive in and enjoy your delicious baked taco dip!
Notes
| Nutrient | Amount per Serving |
|---|---|
| Calories | 250 |
| Fat | 20g |
| Protein | 10g |
| Carbs | 15g |
| Sugar | 2g |
| Sodium | 300mg |
Why You’ll Love This baked taco dip
- It’s a crowd-pleaser that brings everyone together.
- Layers of flavor that will tantalize your taste buds.
- Easy to make, perfect for any occasion.
- Customizable with your favorite toppings and ingredients.
- Great for meal prep or a quick snack!
Ingredients
Gather these delicious ingredients for the ultimate baked taco dip!
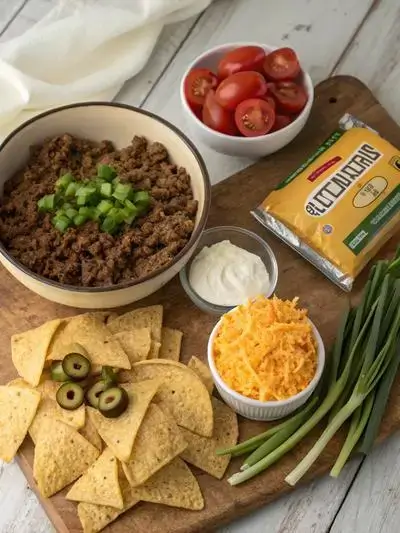
- Cream cheese – 1 (8 oz) package, softened
- Sour cream – 1 cup
- Taco seasoning – 1 packet (1 oz)
- Shredded cheddar cheese – 1 cup
- Shredded Monterey Jack cheese – 1 cup
- Diced tomatoes with green chilies – 1 can (10 oz), drained
- Sliced black olives – 1/2 cup
- Chopped green onions – 1/4 cup
- Tortilla chips – for serving
How to Make baked taco dip
Get ready to indulge in a warm, cheesy delight! This baked taco dip is perfect for parties or a cozy night in. With a preparation time of about 10 minutes and a cooking time of 20–25 minutes, you’ll have a delicious dip ready in no time. Don’t forget to let it rest for 5 minutes before diving in!
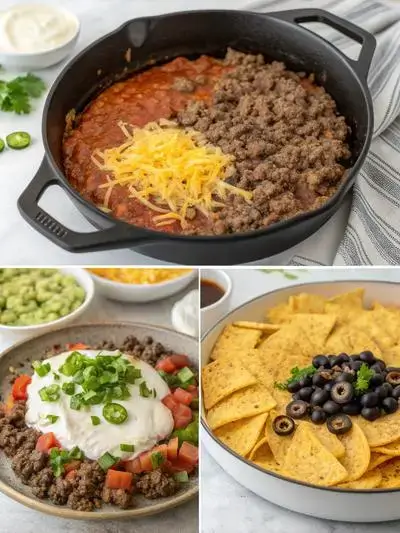
Step 1: Preheat the Oven
Start by preheating your oven to 350°F (175°C). This will ensure your dip bakes evenly and gets that perfect bubbly texture.
Step 2: Mix the Base
In a medium bowl, beat together the softened cream cheese, sour cream, and taco seasoning until smooth and well combined. This creamy base is the heart of your dip!
Step 3: Spread the Mixture
Spread the creamy mixture evenly into a small baking dish. Make sure it’s nice and even for the best results.
Step 4: Add the Cheeses
Sprinkle half of the shredded cheddar and Monterey Jack cheeses over the cream cheese layer. This will add a delicious cheesy goodness!
Step 5: Layer the Toppings
Top with the drained diced tomatoes with green chilies, sliced black olives, and chopped green onions. These toppings add flavor and color!
Step 6: Finish with More Cheese
Finish by adding the remaining shredded cheeses on top. Who doesn’t love extra cheese?
Step 7: Bake the Dip
Place the baking dish in the oven and bake for 20–25 minutes, or until the dip is bubbly and the cheese is melted and lightly golden. Your kitchen will smell amazing!
Step 8: Let it Rest
Remove from the oven and let the dip rest for 5 minutes before serving. This helps it set a bit and makes it easier to scoop.
Step 9: Serve and Enjoy!
Serve warm with tortilla chips. Dive in and enjoy your delicious baked taco dip!
Recipe Snapshot
| Feature | Details |
|---|---|
| Category | Snacks |
| Cuisine | Mexican |
| Prep Time | 10 minutes |
| Cook Time | 25 minutes |
| Extra Time | 5 minutes (resting) |
| Total Time | 40 minutes |
| Dietary | Vegetarian |
| Serves | 8 |
| Best Served | Warm with tortilla chips |
Pro Tips for Making baked taco dip
- Opt for cream cheese at room temperature for easy mixing.
- Layer your ingredients evenly for a beautiful presentation.
- Use low-fat sour cream or Greek yogurt for a healthier twist.
- Top with fresh cilantro or green onions just before serving.
- Serve with a variety of dippers like tortilla chips, veggies, or pita bread.
How to Serve this baked taco dip
- Serve with crispy tortilla chips for that perfect crunch.
- Pair with fresh veggie sticks like carrots, celery, and bell peppers.
- Top with sliced jalapeños for an extra kick.
- Offer alongside guacamole and salsa for a fiesta feel.
- Use as a filling for soft tortillas or lettuce wraps.
- Garnish with fresh cilantro and a squeeze of lime for brightness.
- Serve in individual cups for a fun party presentation.
Make Ahead and Storage
Storing and enjoying your baked taco dip later is easy!
Storing Leftovers
- Allow the dip to cool completely.
- Transfer to an airtight container.
- Store in the refrigerator for up to 3 days.
- Label with the date for easy tracking.
Freezing
- Cool the dip completely before freezing.
- Use a freezer-safe container or heavy-duty freezer bag.
- Leave some space for expansion.
- Freeze for up to 2 months for best quality.
Reheating
- Thaw in the refrigerator overnight if frozen.
- Reheat in the oven at 350°F (175°C) until warmed through.
- Microwave in short intervals, stirring in between.
- Check for even heating to maintain texture.
Explore more easy breakfast recipes, quick lunch ideas, cozy dinner meals, tasty snacks, and delightful dessert.
Final Thoughts
Get ready to dive into the deliciousness of baked taco dip! This dish is not just easy to whip up, but it also brings a wave of nostalgia and joy to any gathering. So gather your friends, grab some chips, and enjoy every cheesy, flavorful bite. You’ll be amazed at how rewarding this simple recipe can be!
Quick answers
Frequently asked questions
Straight answers from the kitchen — storage, swaps, and common sticking points for this recipe.
What ingredients are needed to make baked taco dip?
How do you prepare and assemble baked taco dip before baking?
What toppings can I add to baked taco dip for extra flavor?
How should I store leftover baked taco dip and how long will it keep?
Kitchen notes
Nutrition & sources
Calorie and nutrition figures on this page are estimates meant for general home-cooking guidance. Actual values vary with brands, portion size, and how the recipe is prepared.
Estimates draw on typical ingredient data from public nutrition databases such as the USDA FoodData Central. They are not a substitute for professional medical or dietary advice.
For how recipes are tested and when pages are updated, see How we test recipes. Full legal context lives in our disclaimers and affiliate disclosure.


Comments
Made this recipe? Share how it turned out for your family.
No comments yet — be the first to leave a note.